Get to know Samantha from Green Pig Farm!!

Well, guys, I finally did it!! I met with Freddy Vasquez from FXV Digital, where we donned headphones and turned on the mics to talk about homesteading. This was the first I’ve ever done a podcast, but had so much fun recording it! We talked about how Green Pig Farm started, what keeps us busy, why we do what we do, and more!

You might be wondering Fred and I connected with each other. We have daughters who played volleyball together years ago. A simple carpool arrangement turned into nearly a decade-long friendship. He mentored me when developing a brand and website for Green Pig Farm. In return, we shared our garden bounty and homemade baked goods. (Ask him about our bread!) Fred is an awesome person –super genuine and honest, and a Green Pig Farm lover. To be honest he loves and supports lots of local businesses…not just us.

Here’s Fred’s Podcast summary: Samantha Shaak is a local school teacher who decided to put a cucumber plant in the ground many years ago and the rest is history. Homesteading is now her passion and Samantha hopes to inspire others to take control of their life through their food.

You can find the recording here: FredTalk #33 | Samantha Shaak

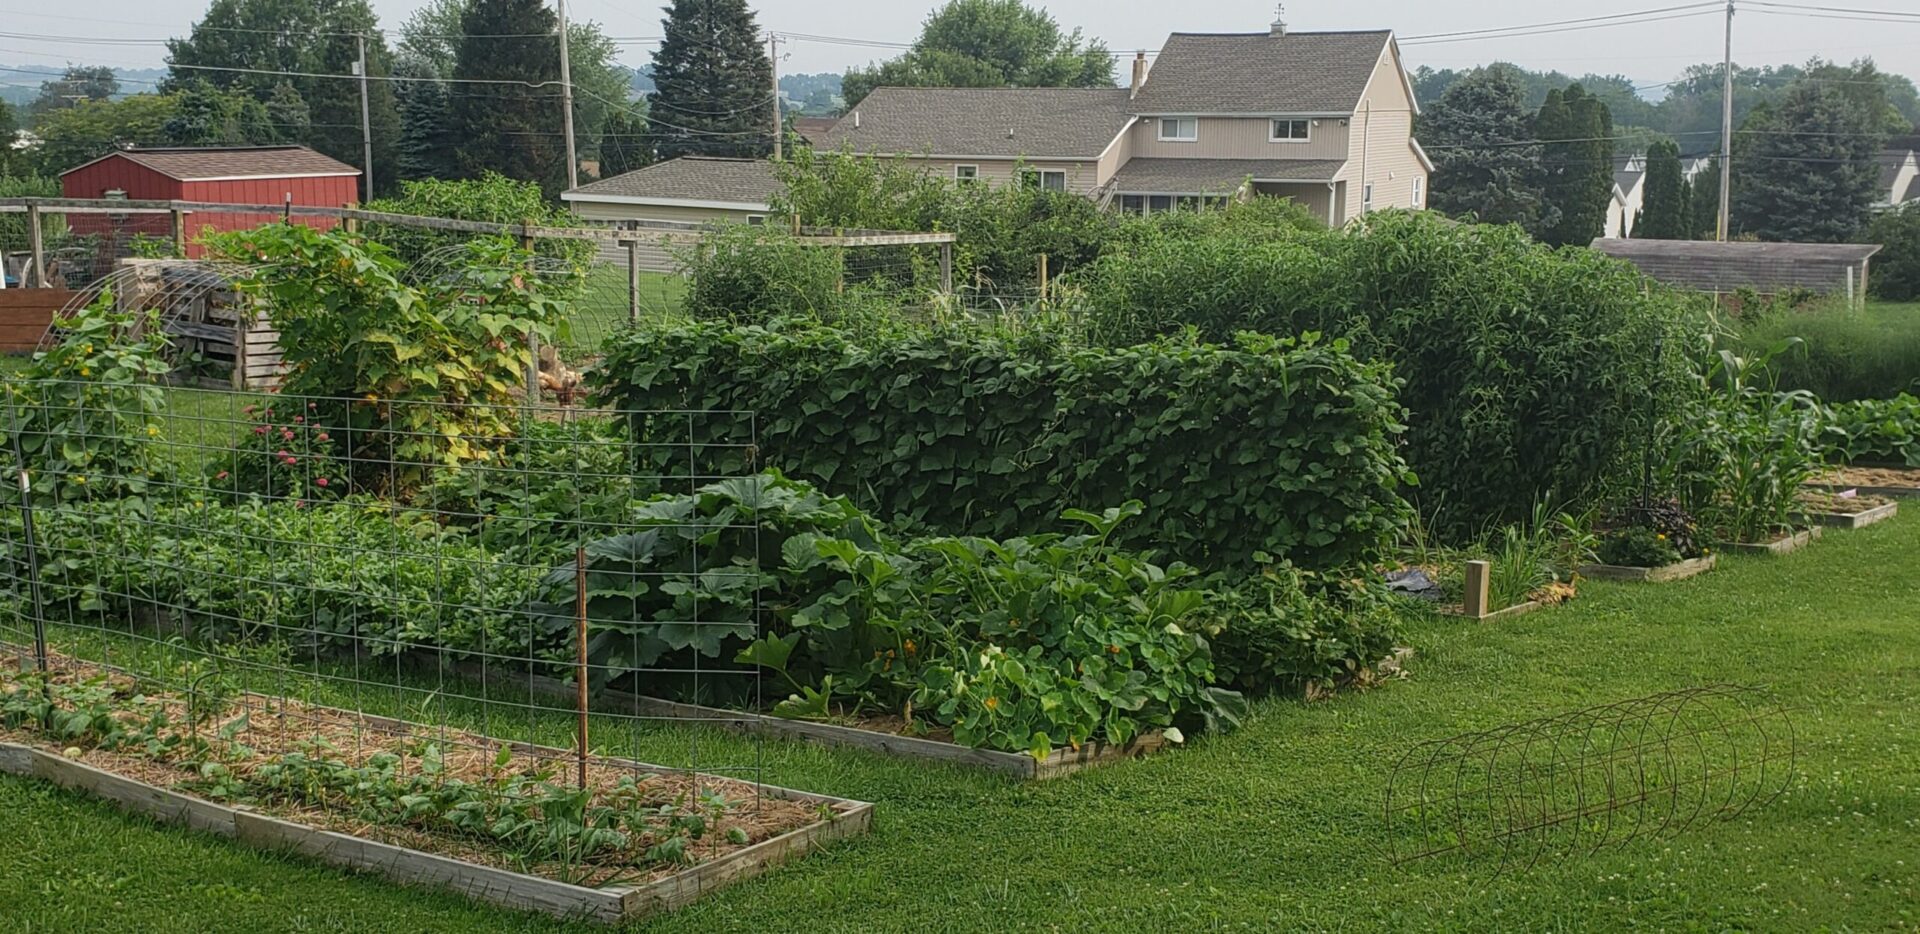
What Does Green Pig Farm Grow in Their Garden?

We often get questions about what we grow in the garden, so we thought we’d share what we have planted this year, as well as how we preserve it. This list will not only include where we originally purchased the seeds (since we now seed save), but also links to other resources we thought might be helpful. We’ll start with our favorite category: legumes.

Legumes

Legumes are our number one crop because of their versatility. This group includes things like beans, peas, peanuts, and even clover. If you want to know why this is our favorite category, check out our post: The #1 Garden Item to Plant.

Here is what we are growing this year and how we will preserve the harvest:

Nightshades

Nightshades are a group of fruits and veggies that contain solanine, including tomatoes, peppers, and potatoes.

  • Tomatoes
    • Yellow Pear (fresh eating)
    • Red Cherry (fresh eating)
    • Brandywine beefsteak (fresh eating, water bath canned, dehydrated)
    • Roma V (water bath canned)
    • San Marzano (water bath canned)
  • Peppers
    • Cayenne (water bath canned, dehydrated)
    • Jalapeno (frozen, water bath canned, pressure canned)
    • Alma Sweet Paprika (dehydrated)
    • Criola de Cocina (frozen)
    • California Wonder (frozen)
    • Habanero (dehydrated, water bath canned)
    • Tangerine Dream (fresh eating)
    • Sweet Long Blend (fresh eating)
    • Golden Marconi (frozen)
  • Potatoes
    • Yukon Gold (cold storage)
  • Eggplant
    • Black Beauty (frozen)

Brassicas

Brassicas are often referred to as cole crops (sometimes mistaken for “cold crops”). These plants can usually be planted when it is a bit colder, before the first frost. If planted for a fall harvest, they will tolerate a light frost, too. Some even say frost improves the flavor of these veggies.

Grain

  • Peaches and Cream Sweet Corn (frozen)

Curcubits

Curcubits include cucumbers, summer and winter squash and melons. Curcubits provide some of the best fresh eating and long term storage items, in our opinion.

Umbellifers

This small group of items include celery, carrots and even parsley.

Alliums

Alliums include some of the best aromatics, garlic and onions. In addition to providing lots of flavor, both of these items are easily stored for later consumption.

Herbs and Greens

  • Dwarf Jewel Mix Nasturtium
  • Purple Basil (dried)
  • Sweet Basil (dried)
  • Dill weed (dried)
  • Rosemary (dried)
  • Thyme (dried)
  • Oregano (dried)
  • Red Romaine Lettuce

Fruits and Berries

Miscellaneous

How to Cure, Prep, and Store Garlic

You’ve picked your garlic. But, now what? Let’s talk about how to cure, prep, and store garlic to get the maximum shelf life. (If you want to learn how to grow your own garlic, check out our post How to Grow Garlic in 3 Easy Steps.)

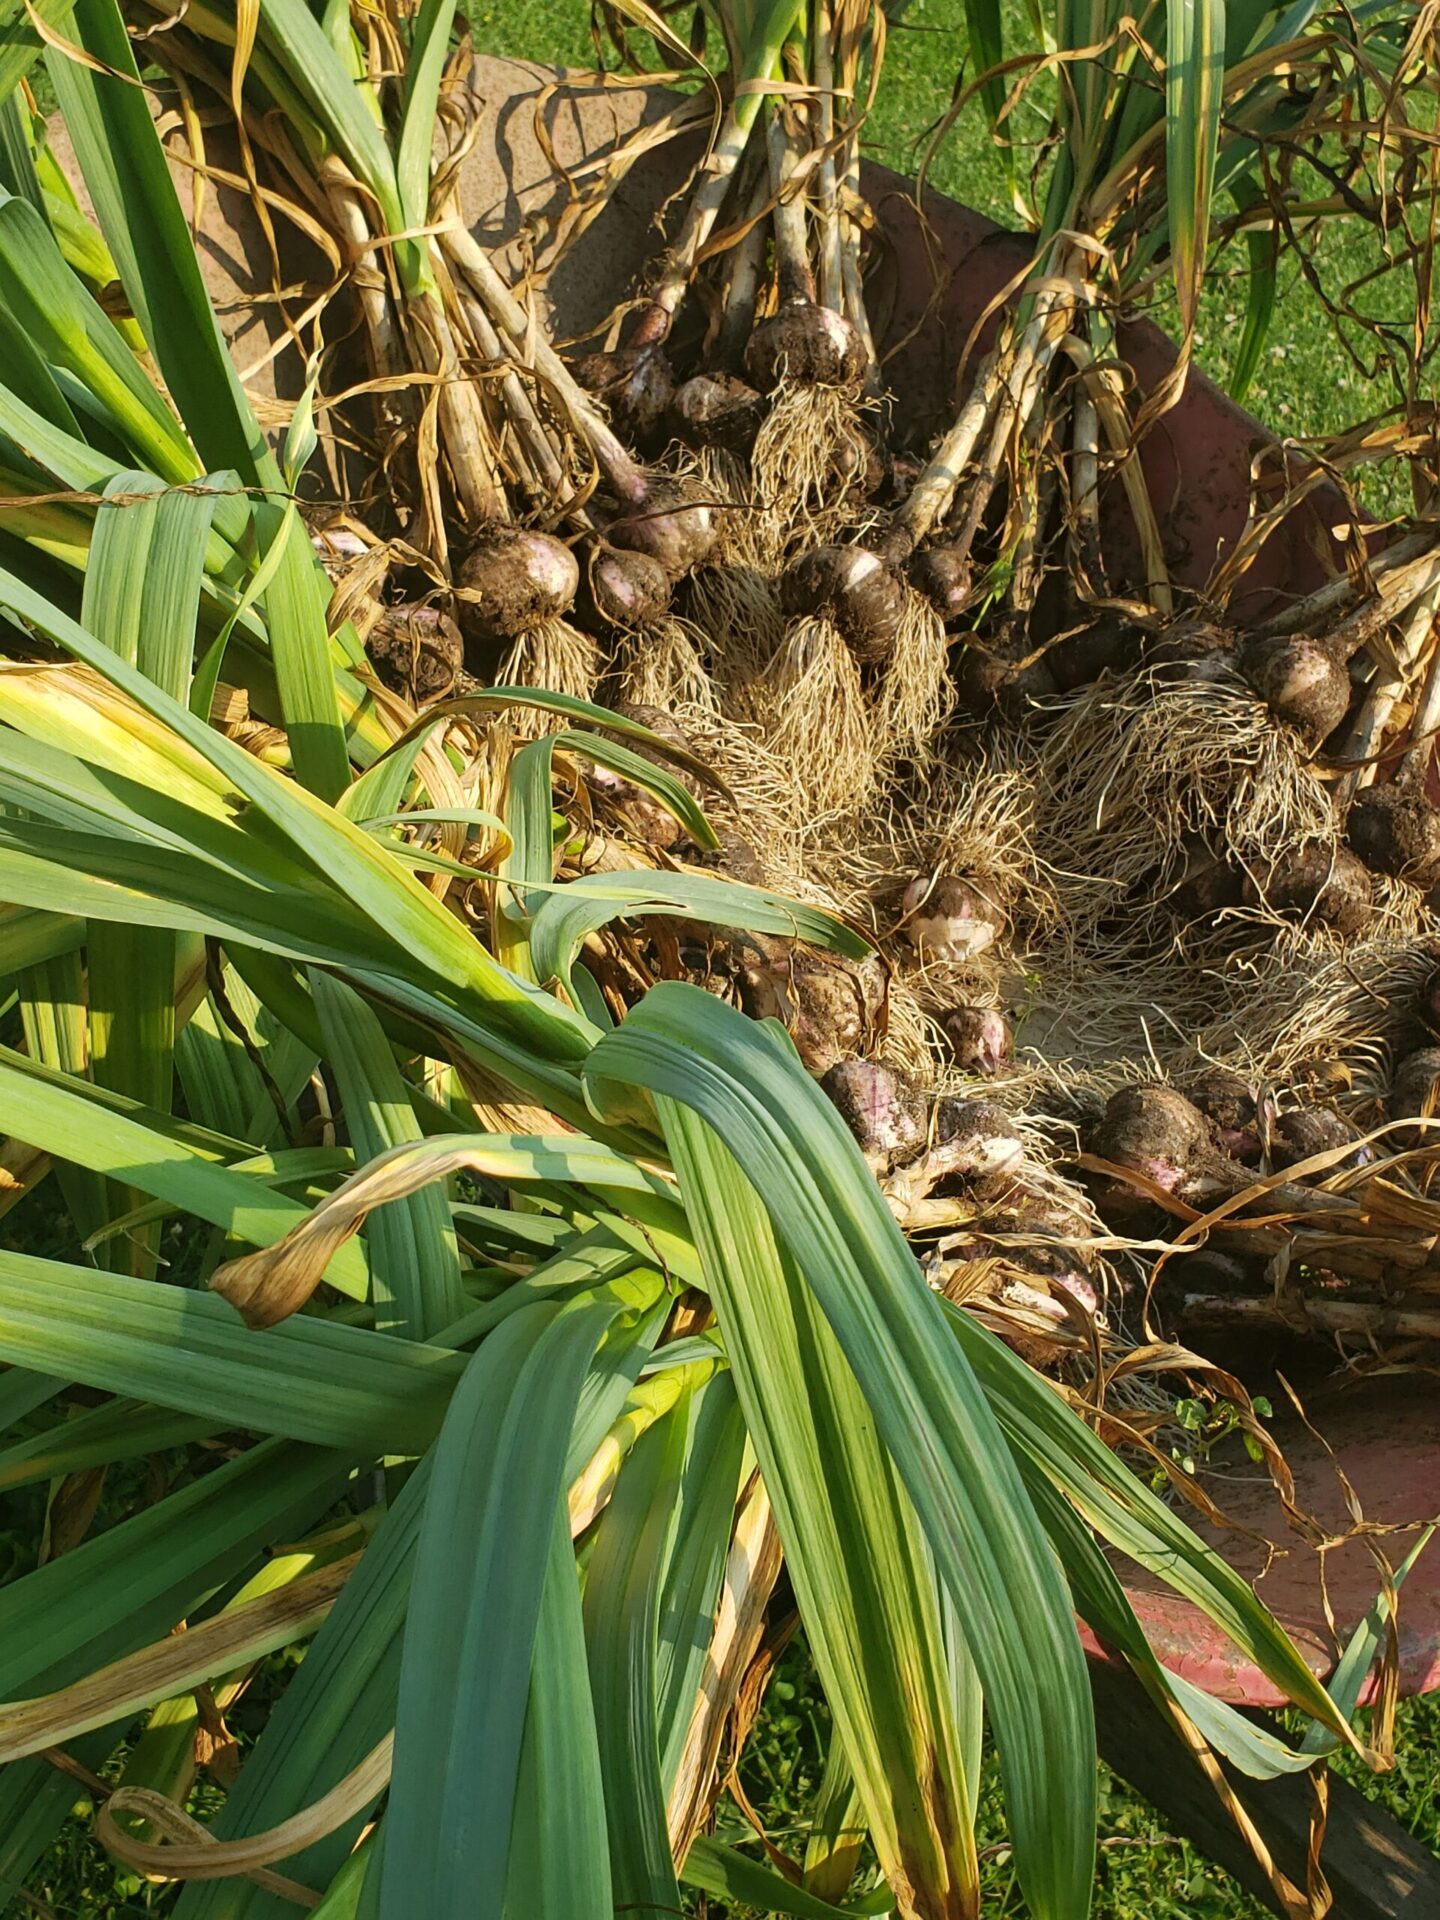
Once your bulbs of garlic have been plucked out of the ground, there are several steps to complete to get them ready for storage. First, “clean” freshly picked garlic. By this, I mean clumps of soil that remain on the bulb or roots should be brushed or shaken off. Your goal is to get most of the extra debris off of garlic.

At this point, some gardeners choose to remove the garlic tops by cutting them with shears or scissors. Others, like me, keep the tops on so the garlic can be bundled and hung to cure.

Whether growing hard- or softneck varieties, the garlic must be cured. Curing is a process that allows the garlic to dry out. If you are bundling the garlic, you can hang them, or you can lay loose garlic on a screened table. The goal is to get as much airflow around the bulbs as possible.

Hardneck garlic is bundled in packs of 10 by wrapping tops with twine.

Moisture is the first enemy of garlic, so airflow is critical to remove it. Get creative with your curing solutions. For instance, if you don’t have a wire table, think about items that you might already have that could provide aeration; cooling racks, daisy trays, or wire scraps can all create suitable drying surfaces. If hanging, string, hooks, bailing twine, or laundry line could make a temporary hanging structure. However, whether hanging or laying, make sure the selected area is dark. Light is is the second enemy of garlic –and both moisture and light create an environment for mold growth.

Allow your garlic to cure for 2-4 weeks. The time needed will vary depending on the humidity, size and type of garlic and temperature. Garlic is fully cured when the outer layers of garlic become papery and the tops are crispy and dry.

Left: Cured garlic Right: Cured garlic that has been cleaned for storage

Now it’s time to grab your scissors or shears!

Once cured, you can cut off the garlic tops, leaving about a 2 inch piece on the top of each bulb. Cut off the roots, brushing off any remaining soil that may remain.

Lastly, peel or rub off the outermost layer of paper to expose a clean layer.

At this point, your garlic is ready to be stored.

Place your prepped garlic in a breathable vessel. Wood crates, baskets, and paper bags are perfect for this because they allow for airflow. You can store your garlic at room temperature for several months without issue. To extend the shelf life, though, storing in a cool, dry place, like a basement or root cellar can preserve the harvest for even longer. We’ve been able to store garlic for over 10 months by doing the latter. Whatever you do, don’t put your garlic in the fridge! Not only will it create unwanted smells, this environment will introduce moisture to the bulbs, causing more harm than good.

We hope this answers your questions on how to cure, prep and store garlic!

How to Grow Garlic in 3 Easy Steps

Garlic. A cousin to the onion. Culinary deliciousness. Easy to grow.

Have you wanted to grow garlic, but haven’t the foggiest on how to start? Here is a step-by-step guide on how to plant it. But, before we start, let’s review the items you will need to grow garlic:

  • garlic bulbs (although some people say you could use store bought garlic, we recommend buying bulbs from a nursery center or gardener since it will be compatible with your growing area)
  • an area to plant that receives 6-8 hours of full sun (this could be a small plot in the garden or in some medium to large pots)
  • gloves (optional, but who wants dirty hands if it can be avoided?!)

OK, let’s get started with our step-by-step guide…

STEP 1-PLANT

First, determine when to plant garlic and plant it. I know this sounds vague, but depending on where you live and the type of garlic you are planting, the time frame in which to plant will vary. A general rule of thumb is to plant garlic on the day of the year with the shortest amount of daylight and harvest it on the day with the longest amount of daylight. Gardeners in my neck of the woods (Zone 6b) often use this guide: Plant on Columbus Day. Harvest on the 4th of July. Ideally, the goal is to get garlic in the ground before the ground freezes. The garlic will begin to develop roots before winter; growth will continue once the ground thaws in the spring.

The spring appearance of garlic!

Once you determine your planting date, break apart the bulbs into cloves several days before you are ready to plant. You can leave the paper on the cloves. On planting day, place cloves root side down, providing enough space for them to grow into bulbs. I usually space my cloves about 4 inches apart in rows that are about a foot apart. If you live in a colder region you may want to apply a layer of mulch; otherwise, forget about them until spring.

STEP 2-MAINTAIN

Pull a bulb to check on progress

Garlic is fairly low maintenance. As with most fruit and veggie plants, keep the area weeded. To help combat weeds and save on watering, apply a layer of mulch, like straw or grass clippings around the plants. There are methods to fertilizing garlic that can help to develop larger bulbs, but as long as you are using a rich soil and aren’t entering any garlic growing competitions, you really don’t need to fertilize.

Lastly, monitor for disease. As mentioned, garlic does not require much attention at all.

As a matter of fact, garlic is planted by some to deter pests from the garden; however, can be susceptible to thrips (small insects) and rot (a fungus) that can impact your garlic’s growth.

STEP 3: HARVEST

If you’re in an area where growing hardneck garlic is the only option, you will actually have two harvests: scapes and bulbs. Softneck variety growers, hang tight…

OK…hardneck growers, several weeks before bulb harvest, you will notice thick stalks with a tapered bulb growing out of the middle of your plants. The stalk, called a scape, will rob energy from the bulb and form a flower. It should be cut from each plant to allow the energy to go into bulb production. The bonus: scapes have a lovely mild flavor and can be added to lots of dishes where a bit of garlic flavor is wanted.

On harvest day, both softneck and hardneck growers, can carefully harvest their bulbs. In loose soil, grab at the base of the plant and pull up gently. If there is resistance, you may want to use a small shovel to loosen the soil around the bulb. Shake excess dirt off of the bulb and roots. Then, give yourself a pat on the back…you’ve successfully grown garlic. If you want to know what to do next, read our post on How to Cure, Prep and Store Garlic.

Feeling super successful? Try adding these 3 items to your garden planting list!

Raspberry Lemon Refresher: A 4 Ingredient Recipe

Jump to Recipe Print Recipe

One of the benefits to living in Pennsylvania is the ability to find or grow raspberries. If you don’t have a spot in your yard for a few raspberry bushes (which I totally recommend!), pick nearly any back road, take a short drive, and your bound to find wild raspberries contently growing within eyesight of the road. Raspberries are plentiful around July, with some varieties producing well into fall.

Freshly picked red raspberries destined for a delicious drink.

We opted to add ten everbearing raspberry bushes when we first moved to our homestead. The plot has multiplied into a jungle of thorny bushes that yield gallons and gallons of raspberries every year.

This means that we have to be creative with our uses. I mean, one can only make and use so much jam, right?!

In addition to fruit leather, baked goods, and downright gifting the berries away, a recent beverage experiment led to a wonderfully refreshing drink. It is not a juice or an ade, but rather a lightly sweet and tart flavored water. You know, the kind that can quench your thirst even on the hottest of summer days.

Did I mention the recipe requires only 4 ingredients?

  • water
  • lemon juice
  • raspberries
  • sugar

(Does water even count as an ingredient?!)

A perfect pairing of raspberries and lemon
The Pampered Chef Easy Read Colander make measuring and cleaning berries easy and efficient.

To make the recipe, you want to make sure to prep your berries. I find using the Pampered Chef Easy Read Colander saves time and dishes because I can measure out my berries and wash them in the same container.

After the berries are washed, you want to remove the seeds. I’ve found that the easiest way to do this is to put them into a fine mesh sieve and use the back of the spoon to crush them. You could also mash up your berries and filter them through cheesecloth. Or, if you’re feeling a little dangerous, leave the seeds in…they’ll sink to the bottom. Careful pouring should avoid any unwanted seeds in someone’s glass.

Once the berries are prepped, add them to a pitcher along with the other ingredients and give it a stir. Might I also suggest heating up a cup or so of your water so you can easily dissolve the sugar in the recipe. It’s not required, but will prevent sugar from sinking to the bottom. It’s that easy. Promise.

Raspberry Lemon Refresher

This lightly tart and sweet beverage is the perfect drink for a hot day.
Prep Time5 minutes
Course: Drinks
Cuisine: American
Keyword: beverage, drink
Servings: 8

Ingredients

  • 1/2 cup granulated sugar
  • 5 cups water filtered is best
  • 1/4 cup freshly squeezed lemon juice
  • 1 cup raspberries

Instructions

  • In a small saucepan, add sugar to 1 cup of water. Heat until dissolved.
  • While water is warming, place your raspberries into a fine mesh sieve. Using a spoon or rubber spatula, crush berries and push through the sieve. ( I do this right into my pitcher to save on dishes!)
  • Combine sugar water, remaining water, lemon juice, and raspberry puree into a 1/2 gallon pitcher. Chill and serve.

Finally, if you’d like to start growing raspberries, or other fruits and vegetables for yourself and your family but don’t know where to begin, check out The 7 Essential Items You Need to Start Gardening.

Making Sauerkraut in a Jar -The Quart Jar Method

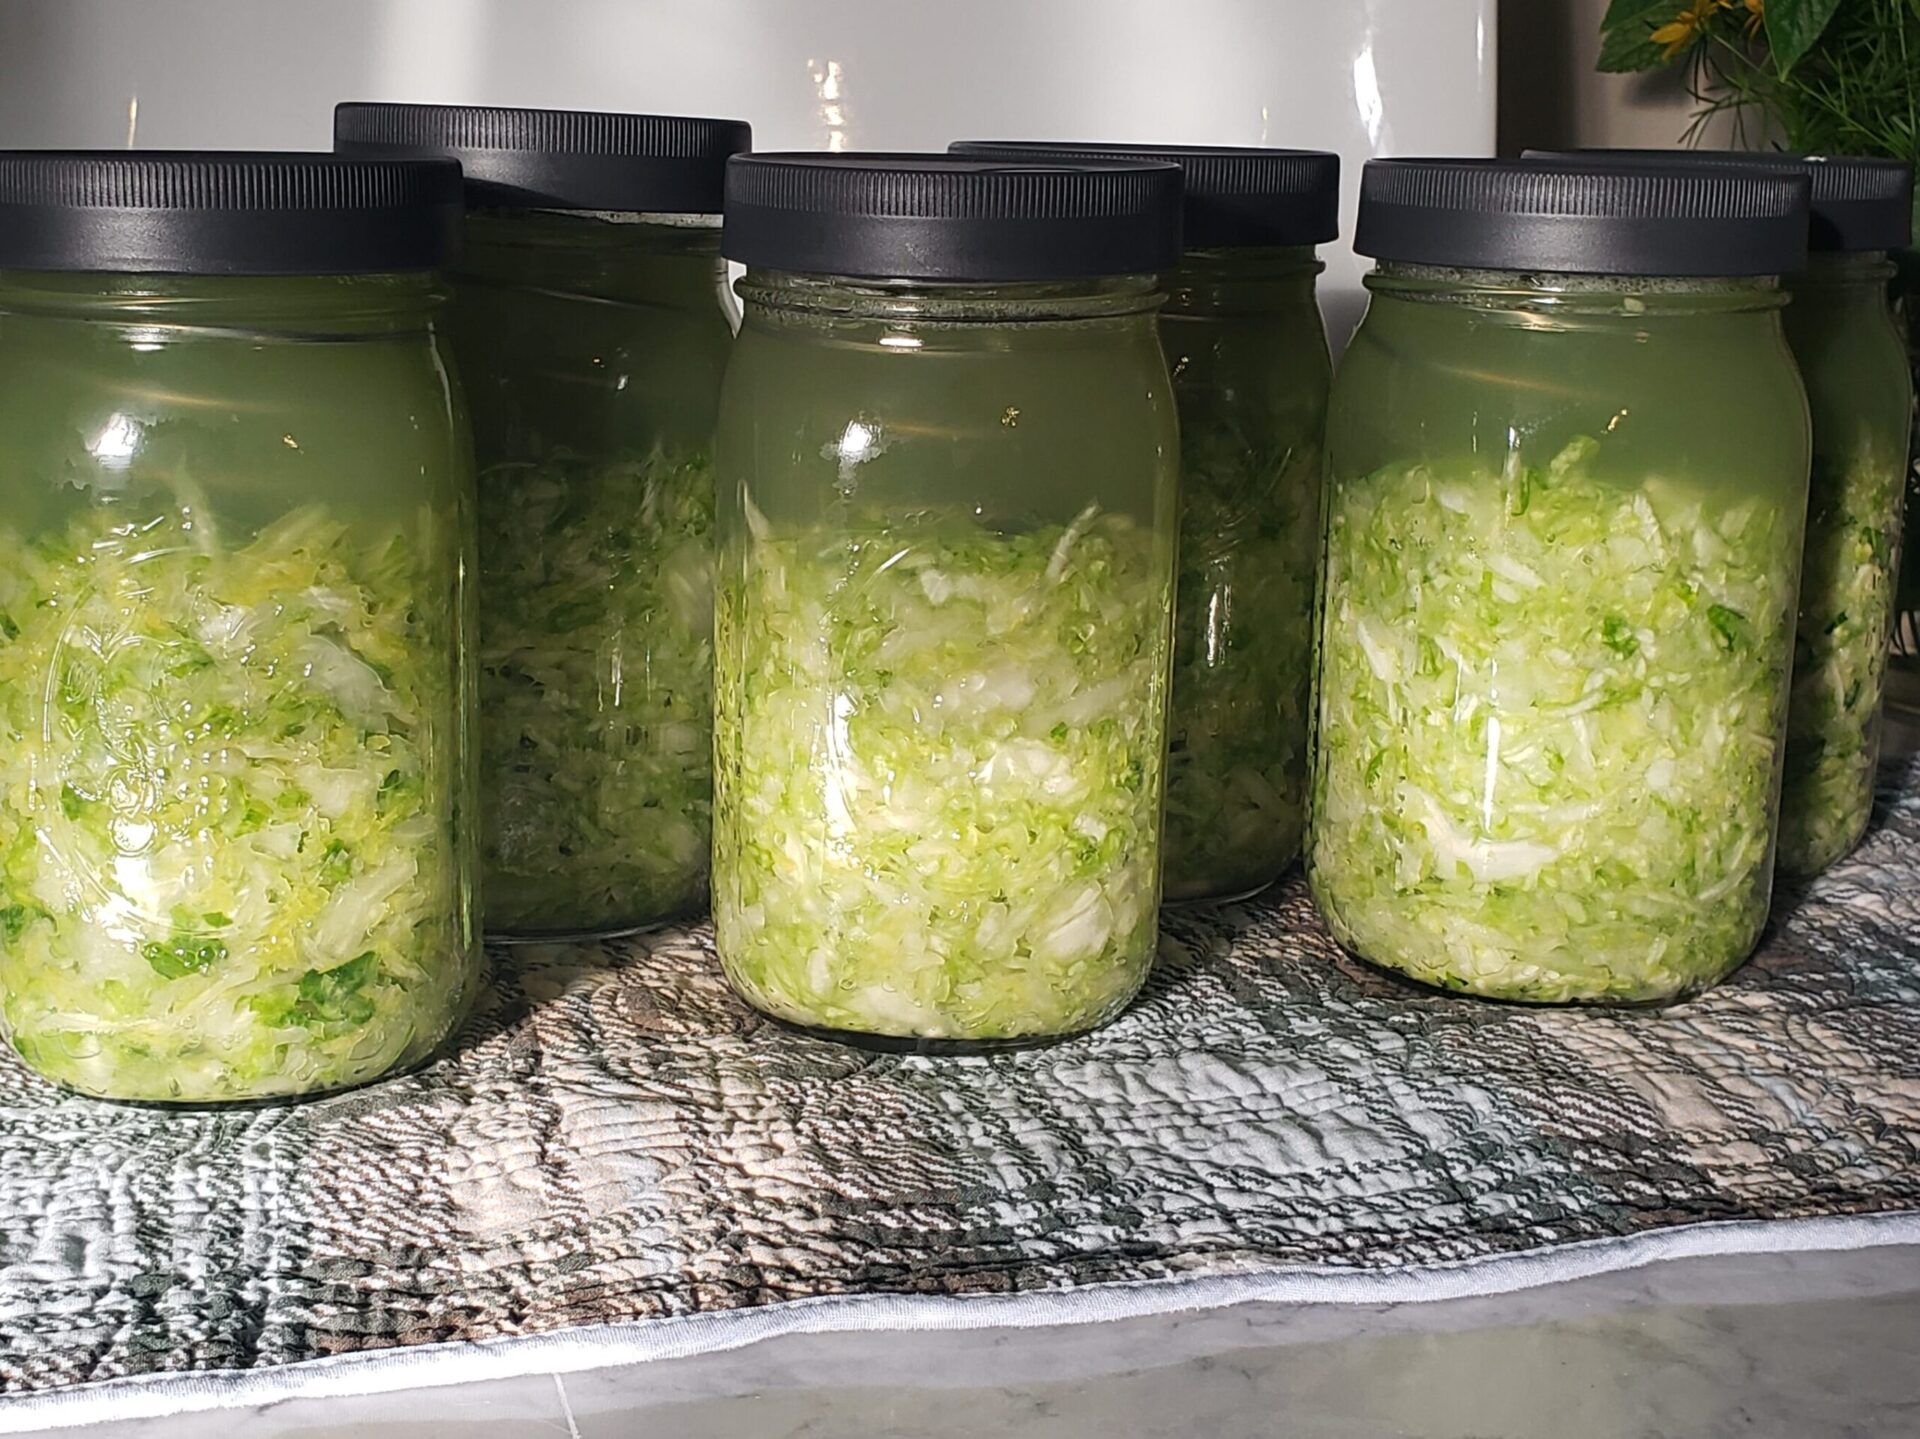
Quart jars of freshly made sauerkraut

What is sauerkraut?

Sauerkraut is a German word that means “sour cabbage.” Although this German word appears to be the most popular name for this side dish, fermented cabbage is found in countries around the world. Perhaps it is so popular because it tastes so good. Perhaps it is because it has wonderful health benefits. In either case, let’s talk about how to make a small batch of sauerkraut.

What do I need to make a small batch of sauerkraut?

There are very few items required for sauerkraut. For a successful batch, you need:

  • cabbage –fresh is best, ideally picked and processed within 48 hours of harvesting
  • salt –canning or kosher salt is ideal
  • a quart jar –you can adjust this recipe to make multiple jars or a large crock, but we’ll explain why we prefer this size
  • a fermenting lid or cheesecloth –a cover for your jar
  • a weight that fits inside the jar — to prevent cabbage from floating to the surface

How do I make sauerkraut?

While fermenting can seem intimidating, it really is just science…and boy do we love science! You will be using the natural bacteria living on the cabbage to lacto-ferment it; this acid is what gives sauerkraut its distinctive flavor. To make each quart, you will need:

  • two pounds of shredded cabbage
  • one tablespoon of salt.

You can cut cabbage by hand, run it through a food processor, or shred it with a mandolin. However, the more consistent you shred it, the better. Smaller pieces with ferment much more quickly than larger pieces, which means they can lose their texture. Once you have shredded the cabbage, weigh out two pounds in a large vessel –bowl or food-grade bucket and add one tablespoon of salt. Begin massaging the salt into the cabbage; the salt will pull the water out of the leaves. You want to continue this process for several minutes until you have created about a cup or so of brine. Add your cabbage to the quart jar, carefully packing it into the bottom. The two pounds will fit –promise! Then top off the jar with the brine.

Once your ‘kraut is made, you want to make sure it doesn’t float. Since you are using a jar, you will need a smaller weight to keep the cabbage towards the bottom of the jar. You could use a baggie filled with extra brine or even a smaller jar for this purpose. We opted to invest in a Ball brand fermenting kit that included a spring which keeps the cabbage submerged. Any of these options will work just fine –a weight is a weight. We also like to cut a small circle out of one of the outer cabbage leaves to act as an additional “seal”; we place the leaf on top of the shredded cabbage (and below the brine) to help keep the cabbage in place prior to placing our weight.

Once the cabbage is weighted down, close your jar using a fermenting lid or cheesecloth. You don’t want to use a regular canning lid because this process creates gas and the gas needs to be able to escape

What do I do once the sauerkraut is made?

You don’t have to do much. Check on your jars every day or two. If you see bubbles at the surface of your brine, it is an excellent sign that fermentation is happening. If you see any floating pieces of cabbage, they should be removed. Pieces of cabbage not submerged can mold and ruin an entire batch of sauerkraut…we definitely don’t want that! You can also carefully skim off any scum that may have formed on the surface, too.

Allow your sauerkraut to ferment at room temperature for at least three days; however we recommend fermenting for at least two weeks for the best flavor. Once completed, you can replace the cheesecloth or fermentation lid with a regular jar lid and pop them into the fridge so you can enjoy the sour goodness for weeks to come. You can also water bath can sauerkraut if fridge space is limited; however, it will kill the beneficial bacteria residing in the ferment. Check out our printable canning inventory to help you organize your jars!

Why do we prefer the quart jar method?

We prefer the quart jar method for several reasons:

  • smaller batches minimize potential loss
  • it allows you to process smaller batches as your cabbage is ready
  • once fermentation is complete, you don’t have to transfer the sauerkraut to another container.

So, here’s the real deal. We’ve been making sauerkraut for several years. Last year our goal was to make the largest batch to date. Sadly, the large batch went bad and we lost it all. All 20 pounds of it. When using quart jars, if one happens to go south, you’re only losing one jar…not an entire batch. This was the driving factor to change our method. But, as noted, there are also other benefits. Fermenting in quart jars is ideal if you are only growing two or three cabbages earmarked for sauerkraut. It is also perfect for a staggered harvest.

Soap! The New Store Spotlight: Green Pig Farm

Need Soap?

The GoggleWorks Center for the Arts is a five-story factory turned community arts center located in downtown Reading​, Pennsylvania. Not only do they feature artists, host classes, and hold community events, they have their very own store. The New Store offers “Reading’s finest selection of beautifully handcrafted decorative and functional objects; including original artwork, household items and decor, creative children’s books and toys, apparel, jewelry, and more.”

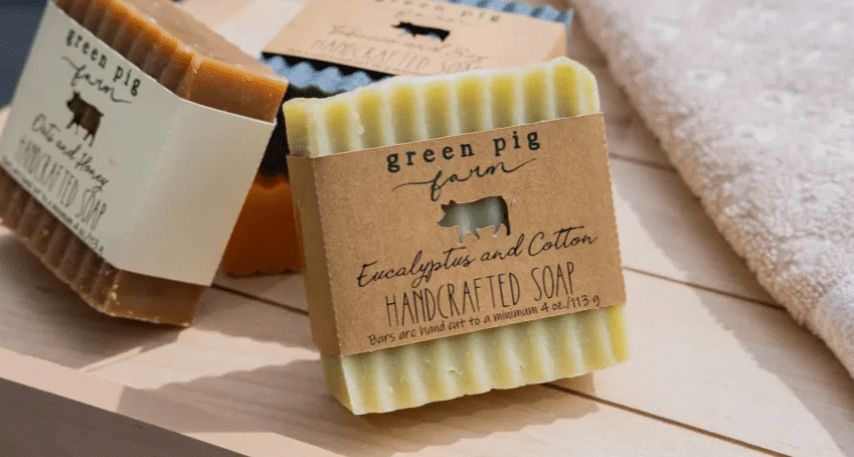
Green Pig Farm is one of a handful of artisans to be featured. Head on over to The New Store‘s recent blog post, featuring yours truly. You can purchase our soap at their store!

You can also buy bars directly from our online store, where we feature exclusive fragrances, too! Some of our soap fragrances include:

  • Garden Mint
  • Garden Lavender and Mint
  • Orange and Rosemary
  • Apple Sage
  • Cherry Almond

You should know that our soap…

  • made is small batches and cut by hand
  • does not use palm oils
  • does not contain added salts
  • uses natural pigments –and no synthetic dyes
  • uses packaging that is eco-friendlty

Green Pig Farm takes pride in their cold process soap. Grab a bar, or several bars, and experience a new kind of clean.

Did My Lettuce Bolt? The What and Why of Bolting

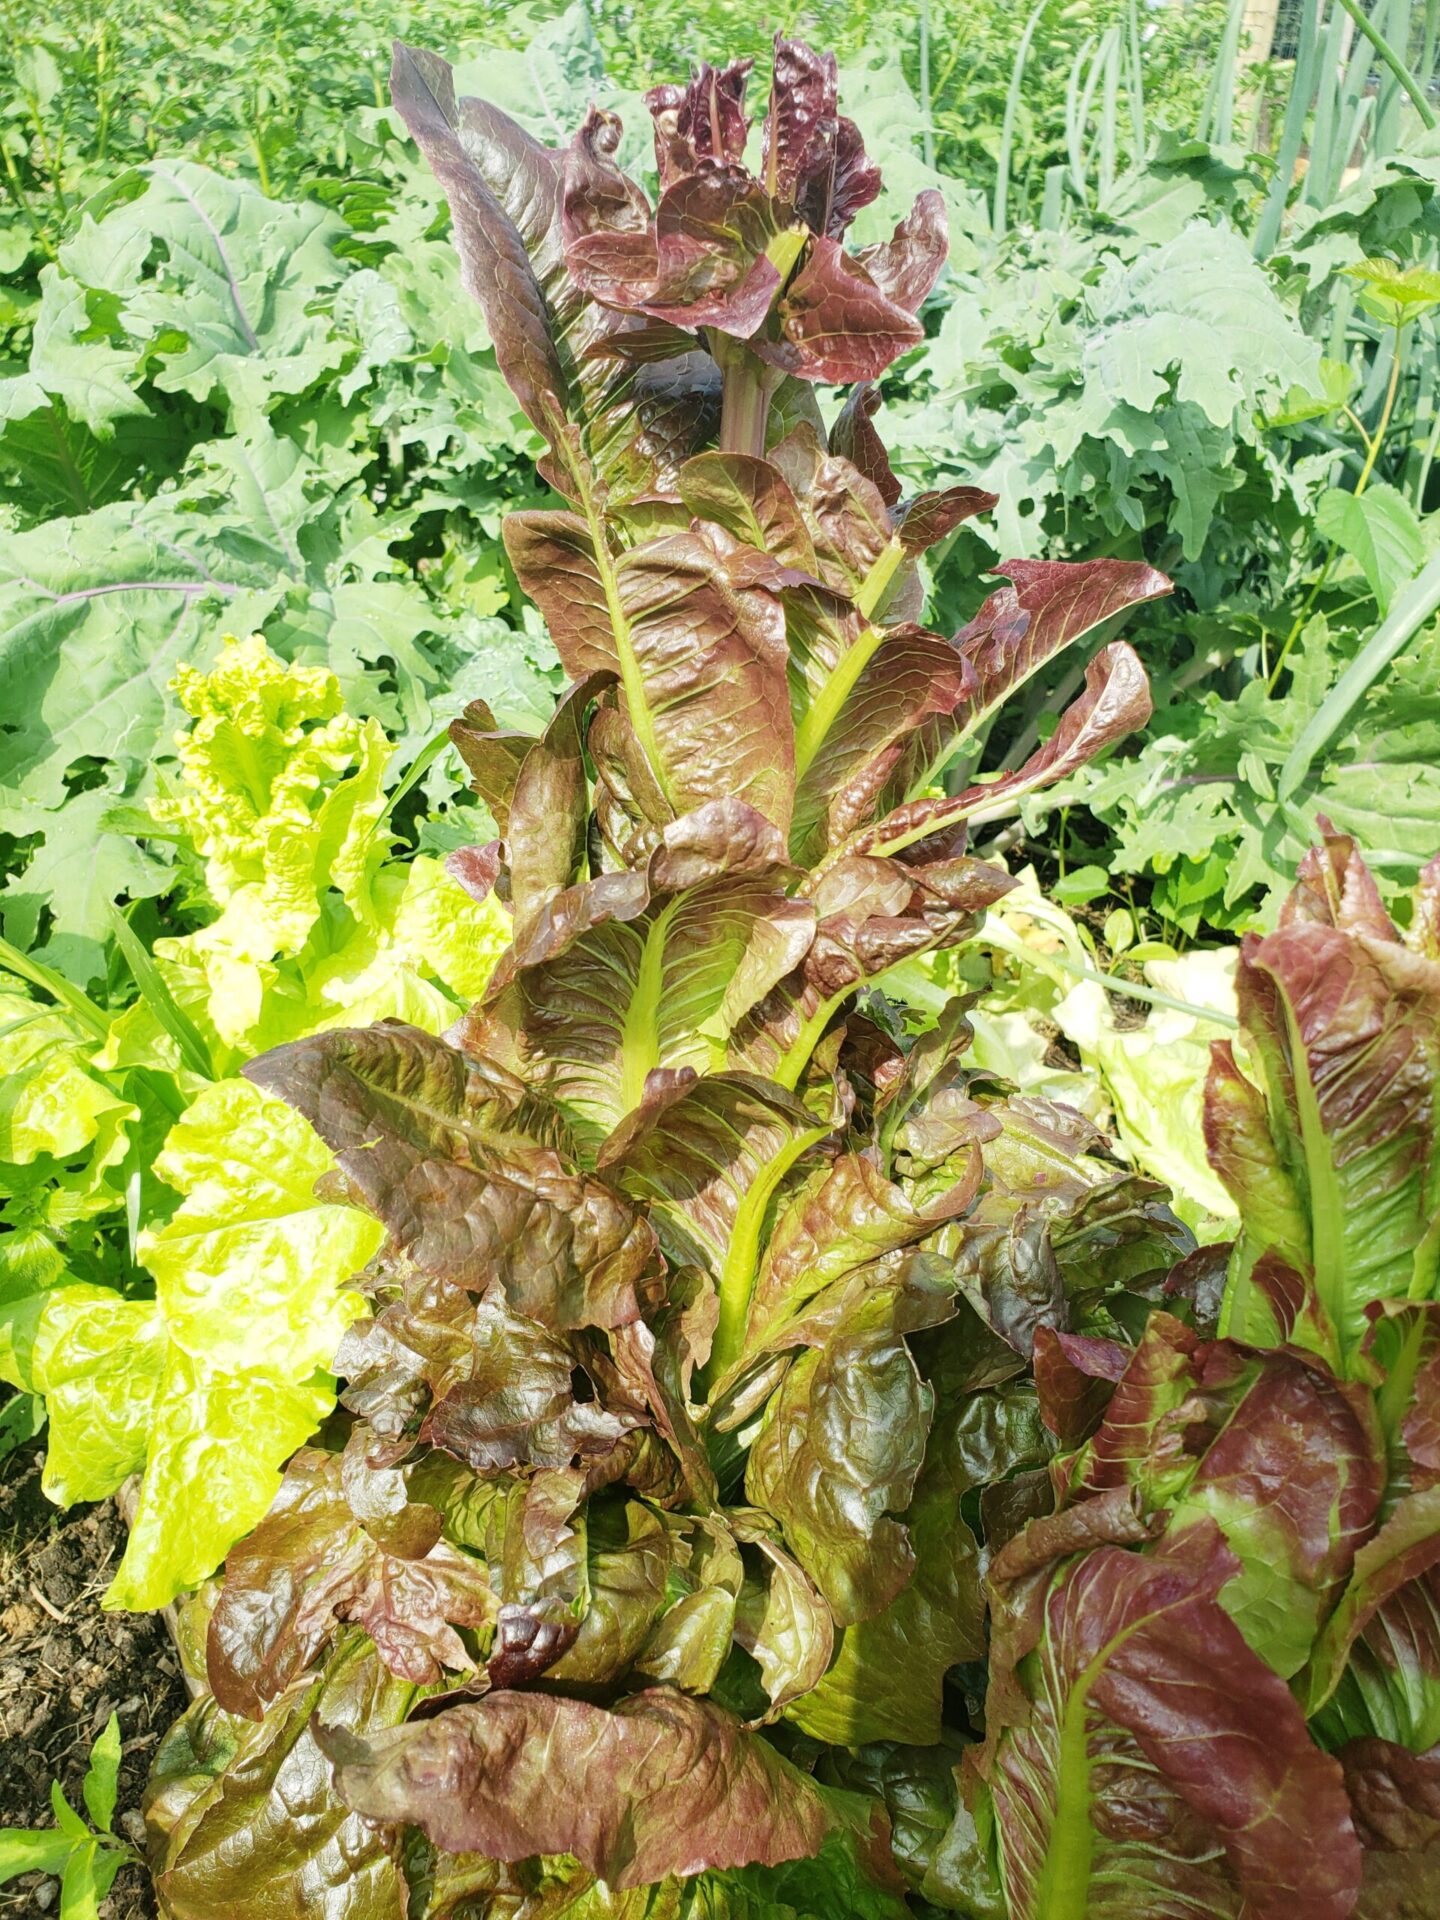
Red romaine lettuce bolting in the heat of summer.

You’ve been enjoying lettuce for weeks when all of a sudden you walk out to your garden and see this tall tree-like plant where your greens had been happily growing. You tear off a leaf of your favorite salad base only to get a mouthful of bitterness.

If you see this happening in your garden, your lettuce has bolted. Bolting is a natural process in the reproductive cycle of plants where the plant flowers and goes to seed so that it is able to plant more of itself. If you think about it, it’s pretty cool. In the moment, though, bitter lettuce is not cool. During this process, usually triggered by:

  • warmer daytime and nighttime temperatures
  • lack of water
  • other plant stressors

many of the properties of the original item are lost –for lettuce, the leaves become a bit tougher and bitter. Unfortunately, there is no reversing the process once it starts. You do have a couple of options, though. If you raise livestock –chickens, pigs, goats, and more– giving them this gourmet treat is free food for them. We feed some of our bolted items like broccoli, radishes and lettuce to our backyard hens and they certainly do not mind the bitterness. You can also allow the plant to complete it’s life cycle…it will continue to bolt, flower, and form seeds. Once completed, you can collect seeds for replanting in the fall or spring. Or, you can simply add the spent plants to your compost pile.

Whatever the case may be, know that bolting is one of the things that all gardeners encounter. If needed you can adjust your planting schedule or location so hot days and nights can be avoided. You can also make sure you’re watering frequently, and most importantly, don’t stress!

If you are pulling your lettuce due to bolting, replace it with our number one garden veggie. Find out what it is here

The #1 Garden Item to Plant

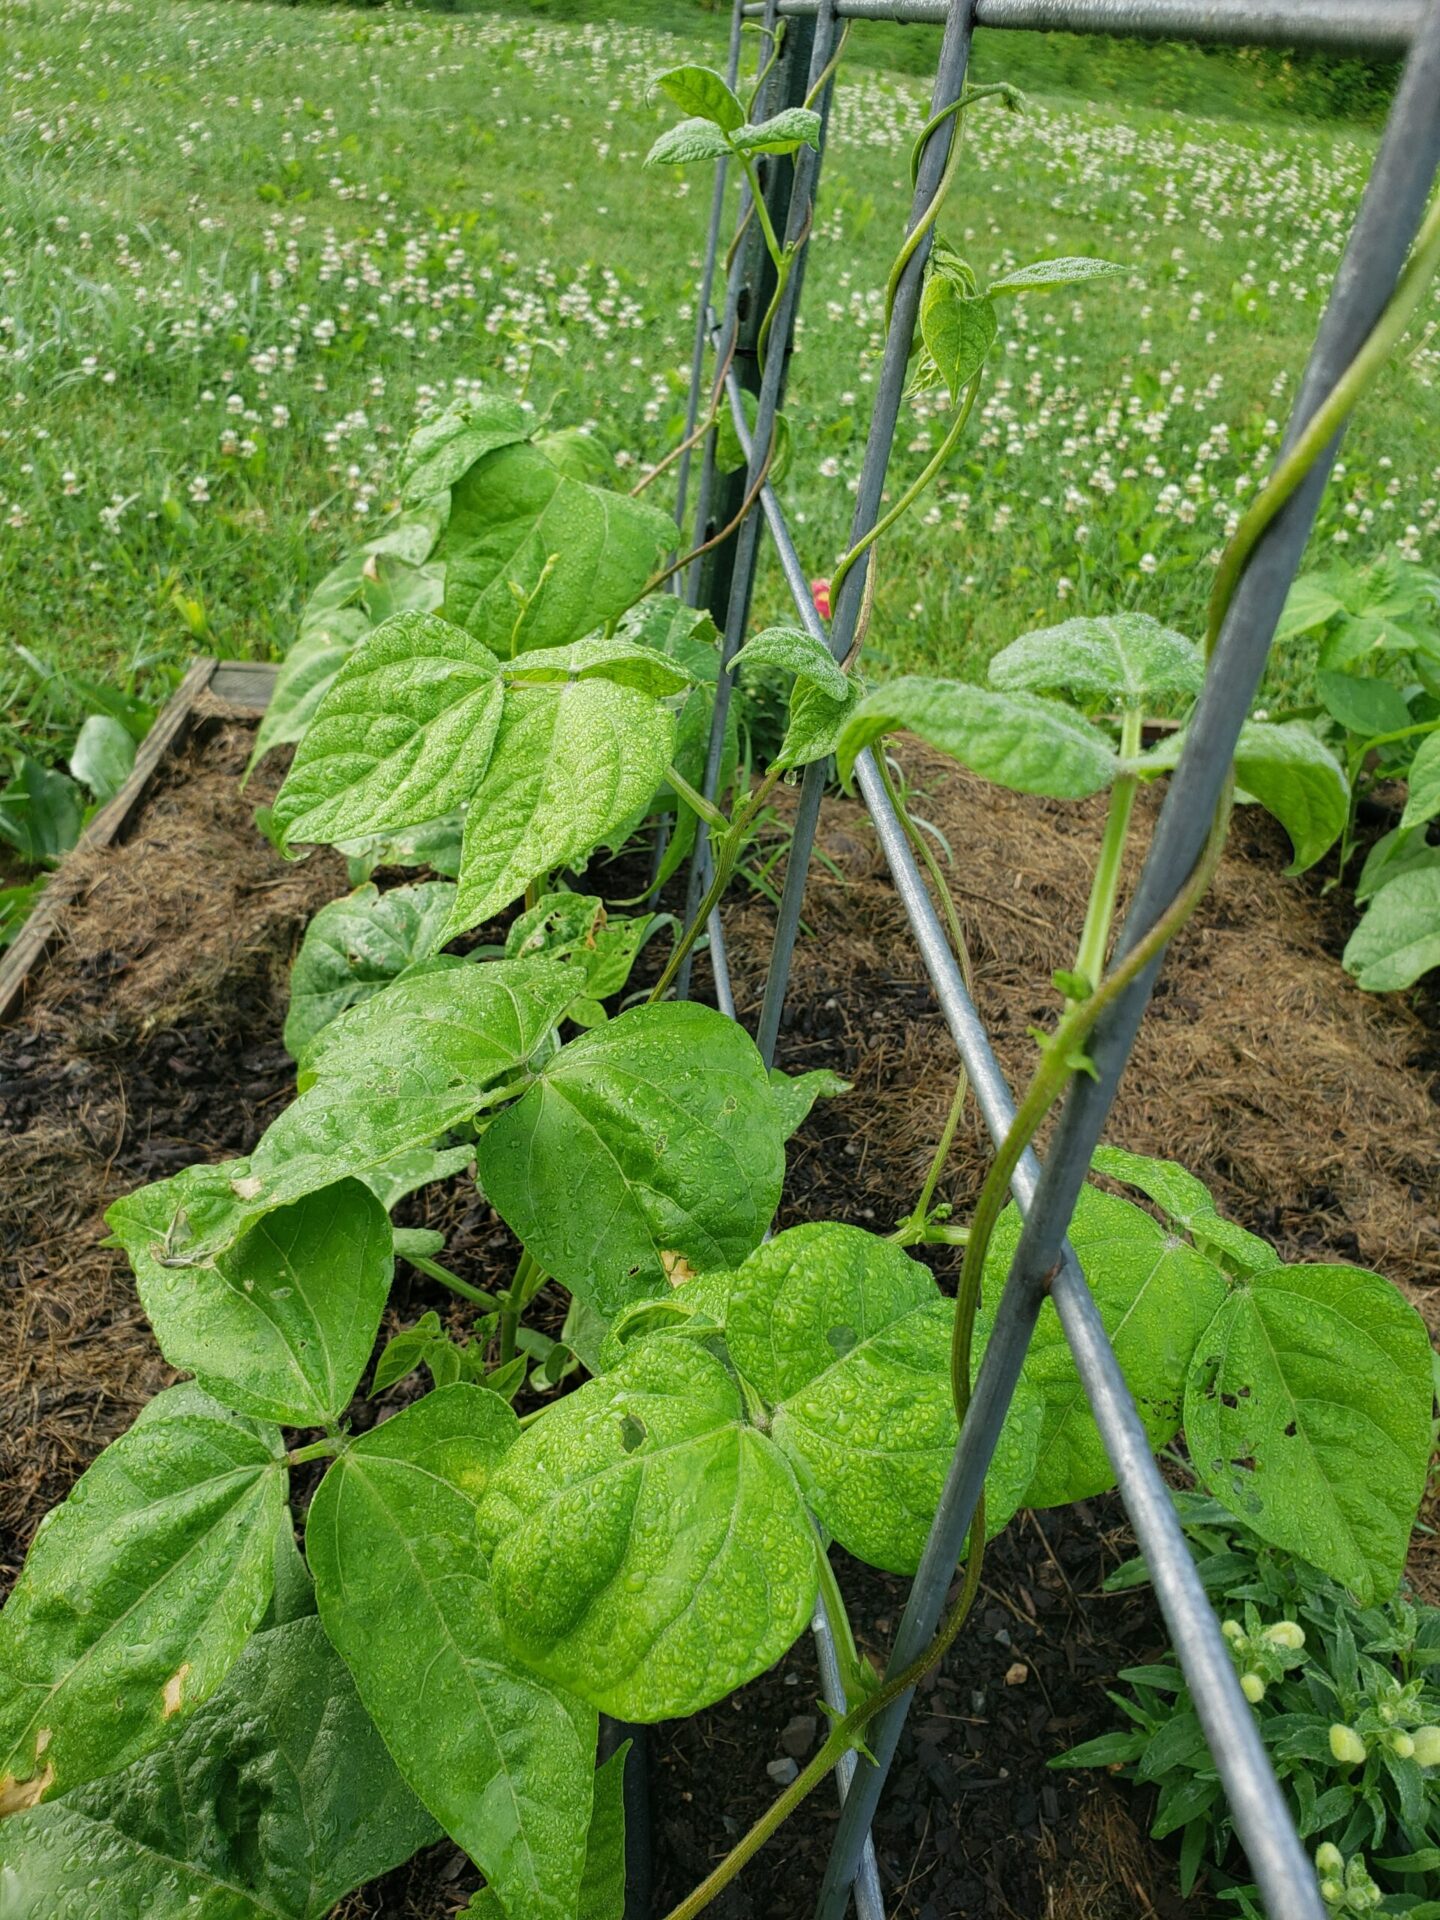
Haricot (navy) beans growing vertically on cattle panel.

BEANS

BEANS

If we had to vote on only one item to grow in the garden, it would be beans. Why?

  • First, beans are loaded with plant-based protein
  • Second, beans can be dried, canned or frozen
  • Third, they can be grown all summer long

Futhermore, beans are also nitrogen fixing plants, which means they can begin to amend your soil. So, do you want to know the basics? Read on…

PLANTING REQUIREMENTS

In our opinion, beans are perfect for the beginner and the advanced gardener. Grab a pack of seeds, plant them in the ground after the danger of frost has passed and give them some water. From there, beans are relatively maintenance free. But, you do need to select the appropriate type of bean…

BUSH VS. POLE BEANS

Bush beans will not need any type of support, unlike their counterpart, the pole bean which needs a trellis or a fence in which to climb. Be sure to read the back of the seed envelope as it will tell you whether your beans will need support. There are hundreds of varieties to choose from. You have the basics: yellow and green. Then the not-so basic haricot, purple, and turtle beans. We have even grown skunk beans! (I bet you can imagine what those beans look like! )Not to worry, though: you have lots of green and yellow bean options. You can find beans at your local nursery (support local business!), a big box store, and even your local dollar store.

HARVESTING

Once pods are developed, beans can be picked, washed and eaten. You will usually start picking 2-3 months after the beans were planted. If you want beans for fresh eating or for preserving, pick the pods when they are slender –larger, bumpy pods usually mean the seeds inside have developed and will make for a less palatable experience. If you are growing a bean for dry storage (or you would like to save seeds for later use) allow the pods to fully develop. These pods can remain on the plant and begin the drying process right in the garden.

PRESERVATION METHODS

Fortunately, beans have several storage methods. If used within a week or two, beans can be stored in the refrigerator. For longer term storage, beans can be frozen in freezer bags or using a vacuum sealer; however, beans must be blanched to preserve color and nutrients. Lastly, beans can also be pickled and preserved using water bath canning, or can be pressure canned for later use.

Shoo Fly Whoopie Pies

Jump to Recipe

Have you ever had a whoopie pie? If you have, you know exactly what I’m talking about. If not, let me explain. Imagine a hybrid cookie-cake sandwiching a sweet and fluffy icing. Are you sold, yet? If you haven’t had one, you really must –I think it’s a life requirement. There are likely hundreds of flavors to choose from, although the original whoopie is a chocolate “pie” with a light, vanilla filling.

These portable and handheld desserts are said to be created by the Amish, which makes sense, as we live just minutes away from their communities. These desserts can be found at nearly every roadside stand you encounter, plus local grocery stores have even gotten on the bandwagon and have started selling these regional treats. And rightfully so; they are delicious!

One of the flavors we encountered in our travels was a Shoo Fly Whoopie Pie. We’ll save the Shoo Fly Pie discussion for another post, but imagine a soft and sweet molasses cookie sandwiching a super-sweet cream with just a hint of vanilla (and molasses).

Google wasn’t my friend when I tried to locate a recipe to make for my daughter’s birthday. She happens to not like cake, but loves the flavors of a good wet-bottom Shoo Fly Pie. Some recipes called for ginger (ewww!) and others called for “goo” in the center. Uh, nope. I wanted a simple and flavorful whoopie pie, so, using what I had on hand during quarantine, I was forced to come up with a concoction on my own. Surprisingly, the balance of unsulfured molasses (which can be strong) with dark corn syrup created a perfectly balanced pie flavor. (It was also good because I didn’t have enough of either to make up the liquid portion of the recipe!)

Lets just say, the pies were the hit of the day. If you’ve been in pursuit of an excellent shoo fly whoopie pie recipe, please try this one out. It won’t disappoint.

Print Recipe
5 from 1 vote

Shoo Fly Whoopie Pie

A handheld version of shoo fly pie., but in a whoopie pie style!
Prep Time1 hour
Cook Time12 minutes
Course: Dessert
Keyword: dessert, German, Lancaster County, molasses, PA dutch, Pennsylvania Dutch, Pie, Shoo Fly, Whoopie Pie
Servings: 12 pies

Ingredients

  • 1 cup granulated sugar
  • 1 cup shortening
  • 1/3 cup unsulfured molasses
  • 2/3 cup dark corn syrup
  • 2 large eggs
  • 4 cups all purpose flour
  • 1 tsp baking soda
  • 1 tsp salt
  • 1/2 tsp ground cinnamon
  • 1 tsp vanilla extract

For the filling

  • 3/4 cup shortening
  • 2-3 cups powdered sugar
  • 1 tsp vanilla extract
  • 1 T milk
  • 1 T Turkey Syrup
  • 1/8 tsp salt

For the crumb topping

  • 1/4 cup flour
  • 2 T brown sugar
  • 1 T shortening

Instructions

  • For the Pies: Beat the shortening and sugar until it is light and fluffy. Then add the eggs, vanilla, molasses, and corn syrup and beat for another 1-2 minutes, or until your mixture is smooth. Then, add all of your dry ingredients to the bowl and beat on low speed until blended. Your dough will be thick –almost like a cookie dough –that's the way you want it! Cover your dough and place it in the refrigerator for 30-60 minutes. You can do this while you make the filling and crumbs for the recipe.
  • For the filling: Cream shortening, vanilla, salt, milk, and turkey syrup together. Then add 2 cups of the powdered sugar and beat until light and fluffy. Add up to 1 more cup of powdered sugar to achieve the consistency you'd like.
    For the crumb topping: Blend flour, brown sugar, and shortening together using a fork or pastry blender until it has an even consistency.
  • Baking and assembling: Preheat oven to 350 degrees F. Using a large scoop, make 24 pies (you might have a tablespoon or two of extra dough –that's okay!).
  • Roll each scoop of molasses-y goodness into a ball, then dip half of them into the crumb mixture (these will be the tops). Place on a lined cookie sheet. You don't want to overcrowd the sheet or else your pies might run into each other –I recommend no more than 6-8 pies on a sheet at at time.
  • Bake for 10-12 minutes and allow to cool.
  • Flip over the 12 pie halves that do not have crumbs on them. These are the bases of your pies.
  • Using the same size scoop as what you used for your pies, load each one of the them with filling. (I find a 2 to 1 ratio of pie to filling best.)
  • You can adjust this ratio as you'd like, but by using the same size scoop, you achieve this ratio –plus, you don't have people fighting over the pies with the most filling!
  • Now take the 12 pie halves that have crumbs and place one of each mound of filling. Give it a gentle press so that all of the fluffy goodness oozes to the edges.  Wrap in plastic wrap and refrigerate –if they last that long!