
How to Cure, Prep, and Store Garlic
You’ve picked your garlic. But, now what? Let’s talk about how to cure, prep, and store garlic to get the maximum shelf life. (If you want to learn how to grow your own garlic, check out our post How to Grow Garlic in 3 Easy Steps.)
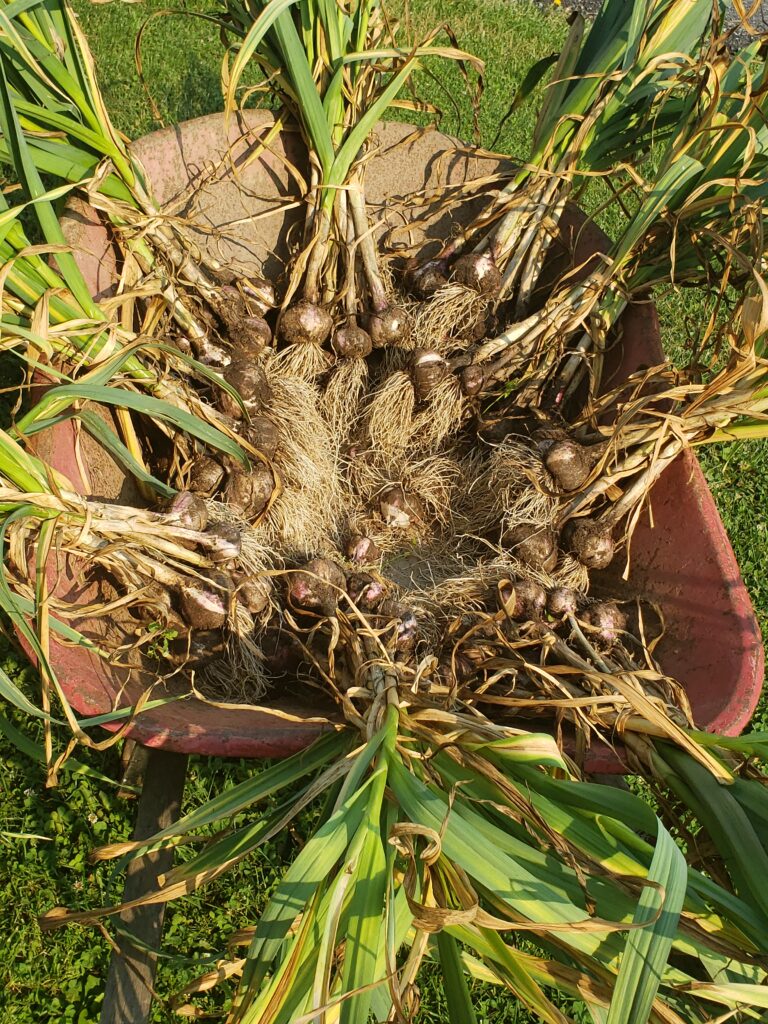
Once your bulbs of garlic have been plucked out of the ground, there are several steps to complete to get them ready for storage. First, “clean” freshly picked garlic. By this, I mean clumps of soil that remain on the bulb or roots should be brushed or shaken off. Your goal is to get most of the extra debris off of garlic.
At this point, some gardeners choose to remove the garlic tops by cutting them with shears or scissors. Others, like me, keep the tops on so the garlic can be bundled and hung to cure.
Whether growing hard- or softneck varieties, the garlic must be cured. Curing is a process that allows the garlic to dry out. If you are bundling the garlic, you can hang them, or you can lay loose garlic on a screened table. The goal is to get as much airflow around the bulbs as possible.
Moisture is the first enemy of garlic, so airflow is critical to remove it. Get creative with your curing solutions. For instance, if you don’t have a wire table, think about items that you might already have that could provide aeration; cooling racks, daisy trays, or wire scraps can all create suitable drying surfaces. If hanging, string, hooks, bailing twine, or laundry line could make a temporary hanging structure. However, whether hanging or laying, make sure the selected area is dark. Light is is the second enemy of garlic –and both moisture and light create an environment for mold growth.
Allow your garlic to cure for 2-4 weeks. The time needed will vary depending on the humidity, size and type of garlic and temperature. Garlic is fully cured when the outer layers of garlic become papery and the tops are crispy and dry.
Now it’s time to grab your scissors or shears!
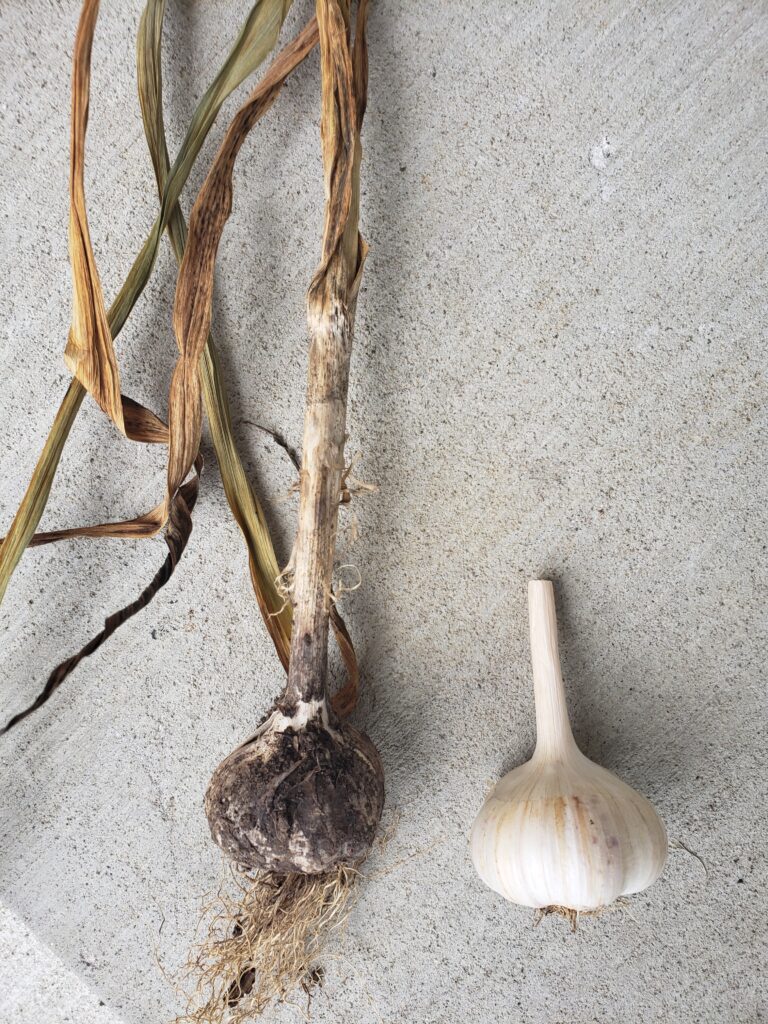
Once cured, you can cut off the garlic tops, leaving about a 2 inch piece on the top of each bulb. Cut off the roots, brushing off any remaining soil that may remain.
Lastly, peel or rub off the outermost layer of paper to expose a clean layer.
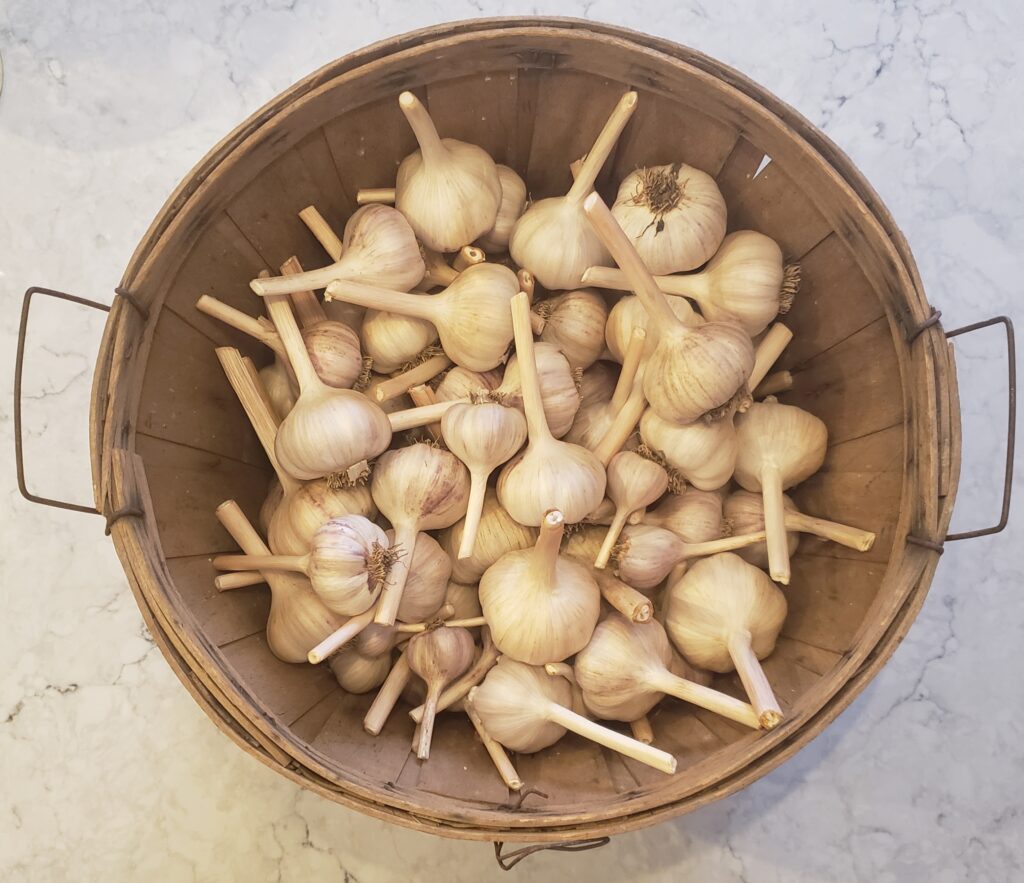
At this point, your garlic is ready to be stored.
Place your prepped garlic in a breathable vessel. Wood crates, baskets, and paper bags are perfect for this because they allow for airflow. You can store your garlic at room temperature for several months without issue. To extend the shelf life, though, storing in a cool, dry place, like a basement or root cellar can preserve the harvest for even longer. We’ve been able to store garlic for over 10 months by doing the latter. Whatever you do, don’t put your garlic in the fridge! Not only will it create unwanted smells, this environment will introduce moisture to the bulbs, causing more harm than good.
We hope this answers your questions on how to cure, prep and store garlic!
No comments.