
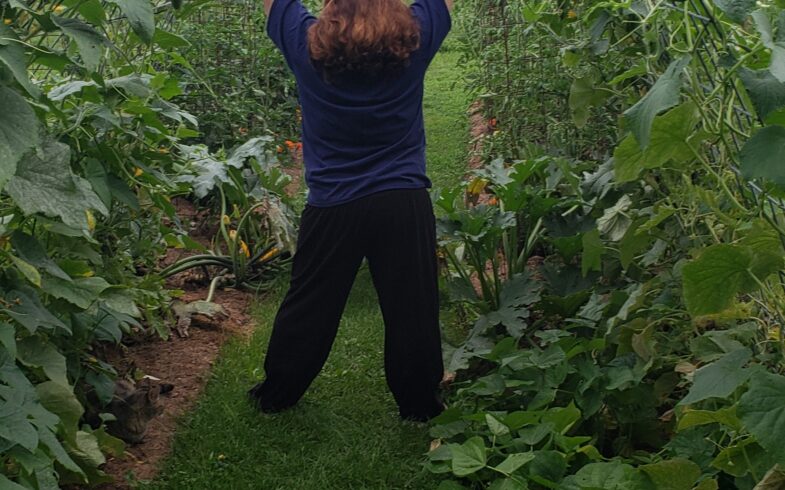
DIY Inexpensive Vertical Trellis
So, you’ve spent nearly every dollar you have on your favorite seeds, a few bags of compost, and cages for your tomato plants. It’s nothing new this year, but you
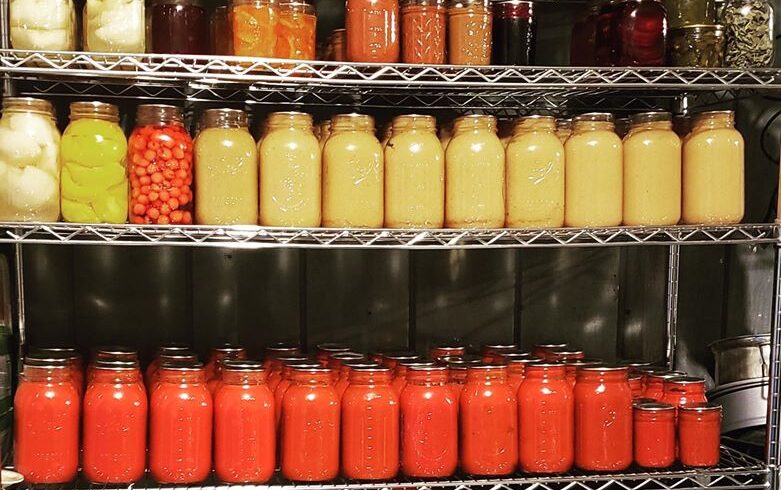
Printable Canning Inventory
I have to do it. I need to do it. This year is the year! As I’m sure you know, gardening and canning requires a tremendous amount of effort, so
Three Easiest and most Versatile Plants for Beginner Gardeners
It’s the Spring of 2020, and we’re experiencing a whole new way of living –at a mask-donning-distance of at least six feet. School and university buildings are closed, and the
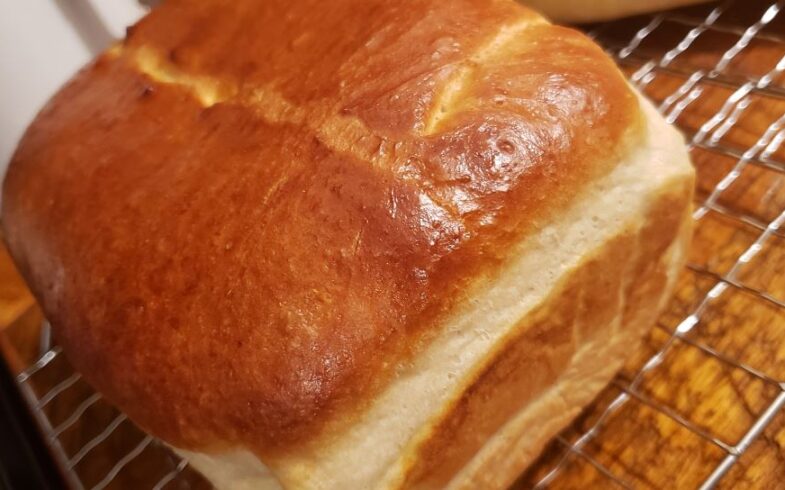
Are You Searching for the Perfect White Bread?
If you’ve been searching for the perfect white bread recipe, I’ve found it! I’ve tweaked it. I’ve mastered it. Let’s just say, I’ve been baking. A. Lot. And, one of
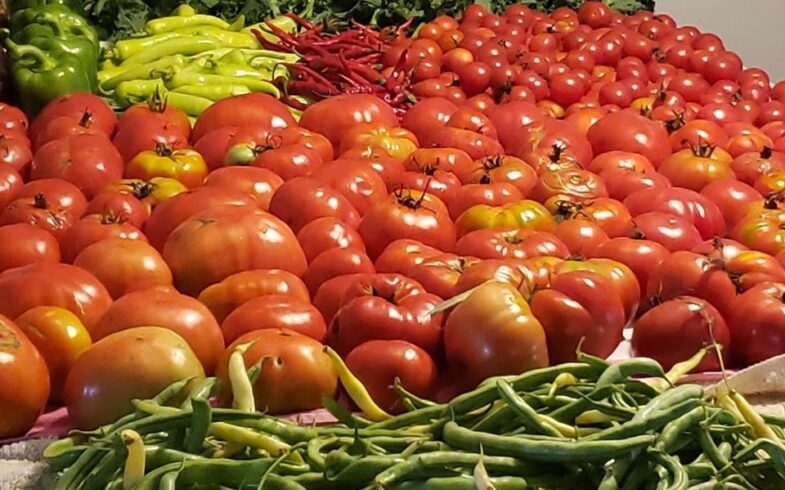
The 7 Essential Items You Need to Start Gardening
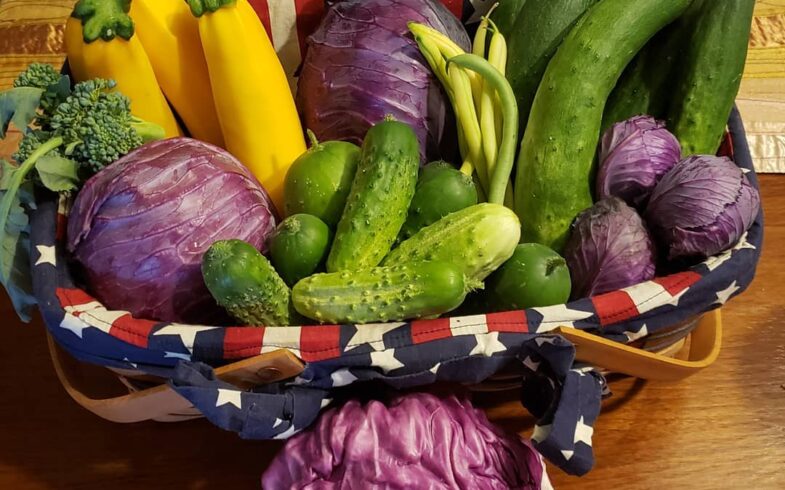
Are you struggling to find fresh fruits and veggies for your family? Do you see your friends posting pictures of their beautiful produce and have “produce envy?” Are you sick
Humans Who Grow Food Featured GPF!
Humans Who Grow Food sole purpose is to feature stories of home gardeners, farmers and community gardens across borders & cultures. In early January 2020, they reached out to us,
Hi and Welcome to Green Pig Farm!
We’re so excited to bring our content to the next level! Welcome to our new webpage. We hope you find our homesteading, gardening and DIY content inspiring and helpful.