
DIY Inexpensive Vertical Trellis
[sg_popup id=116]
So, you’ve spent nearly every dollar you have on your favorite seeds, a few bags of compost, and cages for your tomato plants. It’s nothing new this year, but you quickly realize you have bought too much stuff for your designated garden space. And, who can blame you?! Fresh pico, homemade pickles, and zucchini chips –made from things that you’ve grown.
So, how can you maximize your garden space to fit more of the produce you’d like to grow? Vertical space. I mean, grow up! Not only can you maximize your planting space, but the plants (and you!) also benefit.
Perhaps, you’ve avoided vertical gardening because of the expense. I’m sure you’ve walked into the garden section of your local home improvement store in search of a trellis, only to realize you need to take out a small mortgage to pay for the required supplies. A simple 3 foot by 6 foot garden trellis can cost upwards of $40….sometimes even more. And, this size might accommodate two cucumber plants.
How would you like to be able to cut that amount in half and triple or quadruple the number of plants you can fit onto the trellis? Would you like it sturdy enough for twenty pound watermelons as well as hundreds of cucumbers?
If so, read on.
You don’t have to get fancy with your purchasing –with that same $20 you can install a sturdy trellis that can accommodate 4-6 plants, including melons!
Instead of heading to a big box store for your supplies, drive to your local farm store (we have a Tractor Supply just a few miles away). What you are in search of is a cattle panel or a feedlot panel. It doesn’t matter if it is for cattle, pigs, or goats; the only difference in the panels is the size of the opening, and since you’re not containing animals, you are free to pick the one you prefer, the one that is the cheapest, or the one that is the most aesthetically pleasing to you. These soon-to-be trellises are rather large, about 4 feet by 16 feet, but that is what you want.
If you don’t have a truck or trailer, you’re going to need one to get this piece of steel home. We have a pick up truck with a six foot bed and with some ingenuity and a few ratchet straps, we were able to safely transport two panels home. Might I suggest bartering with a friend or neighbor some of your fresh produce for the use of a truck. Bartering is magical!
Before you head to the cash register, ask yourself if you have any metal pipes, old shovel handles, or garden stakes laying around –you’ll need two pieces of a straight sturdy material to secure your DIY trellis. If you don’t have anything that you might be able to use (we used old garden stakes), add two garden stakes or pieces of rebar to your cart.
Once your home, you’ll have a trellis with more than 64 square feet of growing space installed in less than 10 minutes. Inventory what you need so you only have to make one trip into the garden. You’ll need the following:
Materials
1 cattle or feedlot panel
2 pieces of rebar, steel rod, wooden fence/garden stakes
Hammer
gloves
Find a spot in your garden that is approximately 4 feet by 8 feet. This will be the area that you will be creating the arch. It sounds like a lot of space, but because you are going vertical, you will be able to use this space not only for your climbing plants, but also for other garden veggies.
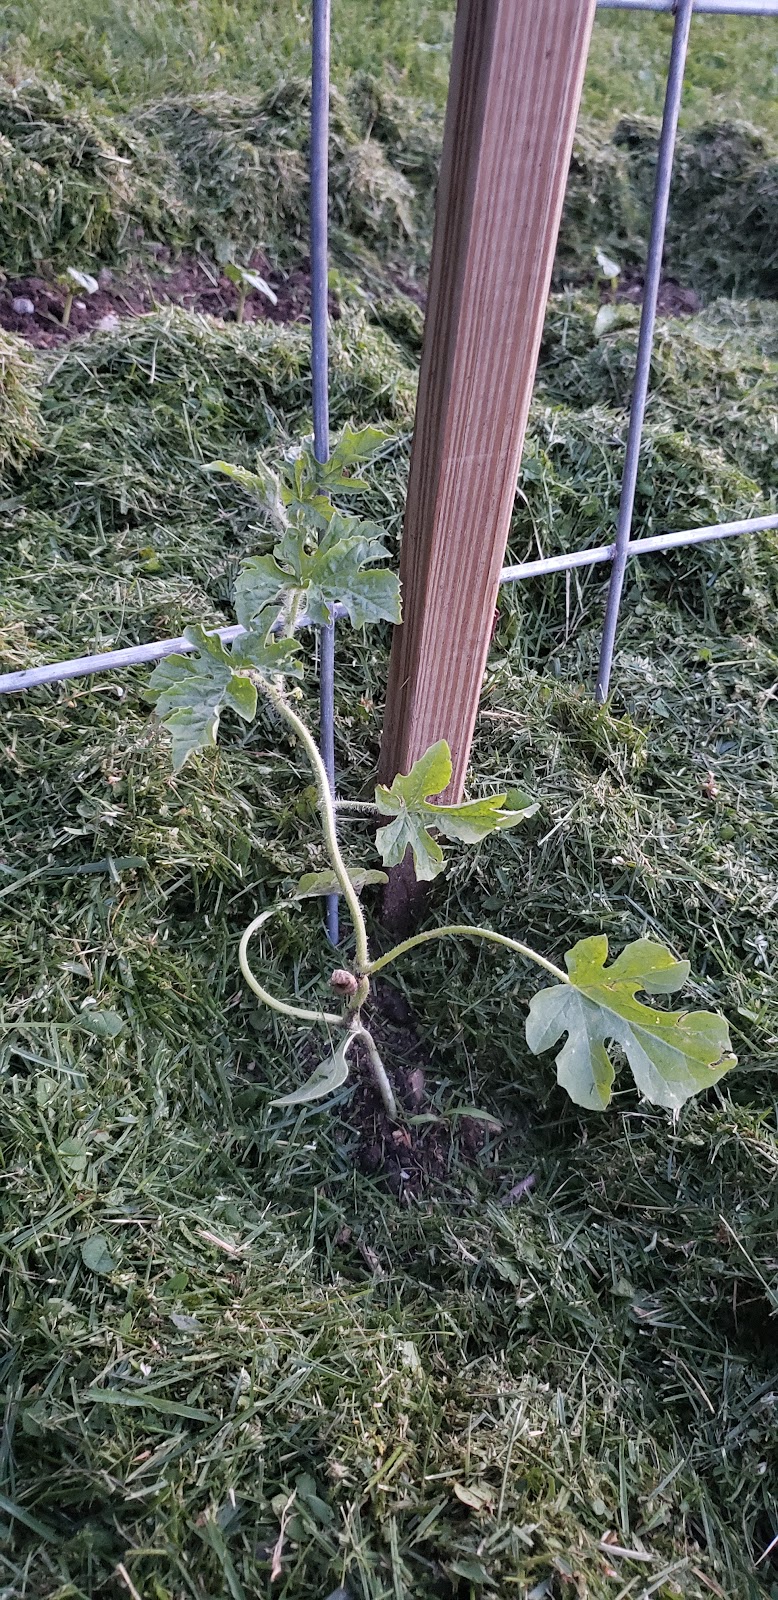
In order to install the trellis, you’ll be applying some force onto the panel, so an extra set of hands would help. First, bend the cattle panel to the desired arch. The first inclination of this arch is to push outward, so to prevent that from happening, secure each side with rebar, stake, etc. by inserting it through one of the bottom openings and hammering it into the ground. The stake doesn’t have to be perfectly straight, but you want to make sure you have it hammered into the ground at least a foot in anticipation of the weight it will be accommodating. Repeat this process on the other side of the cattle panel. Depending on your configuration, you should have an arch that is 5 to 6 feet tall.
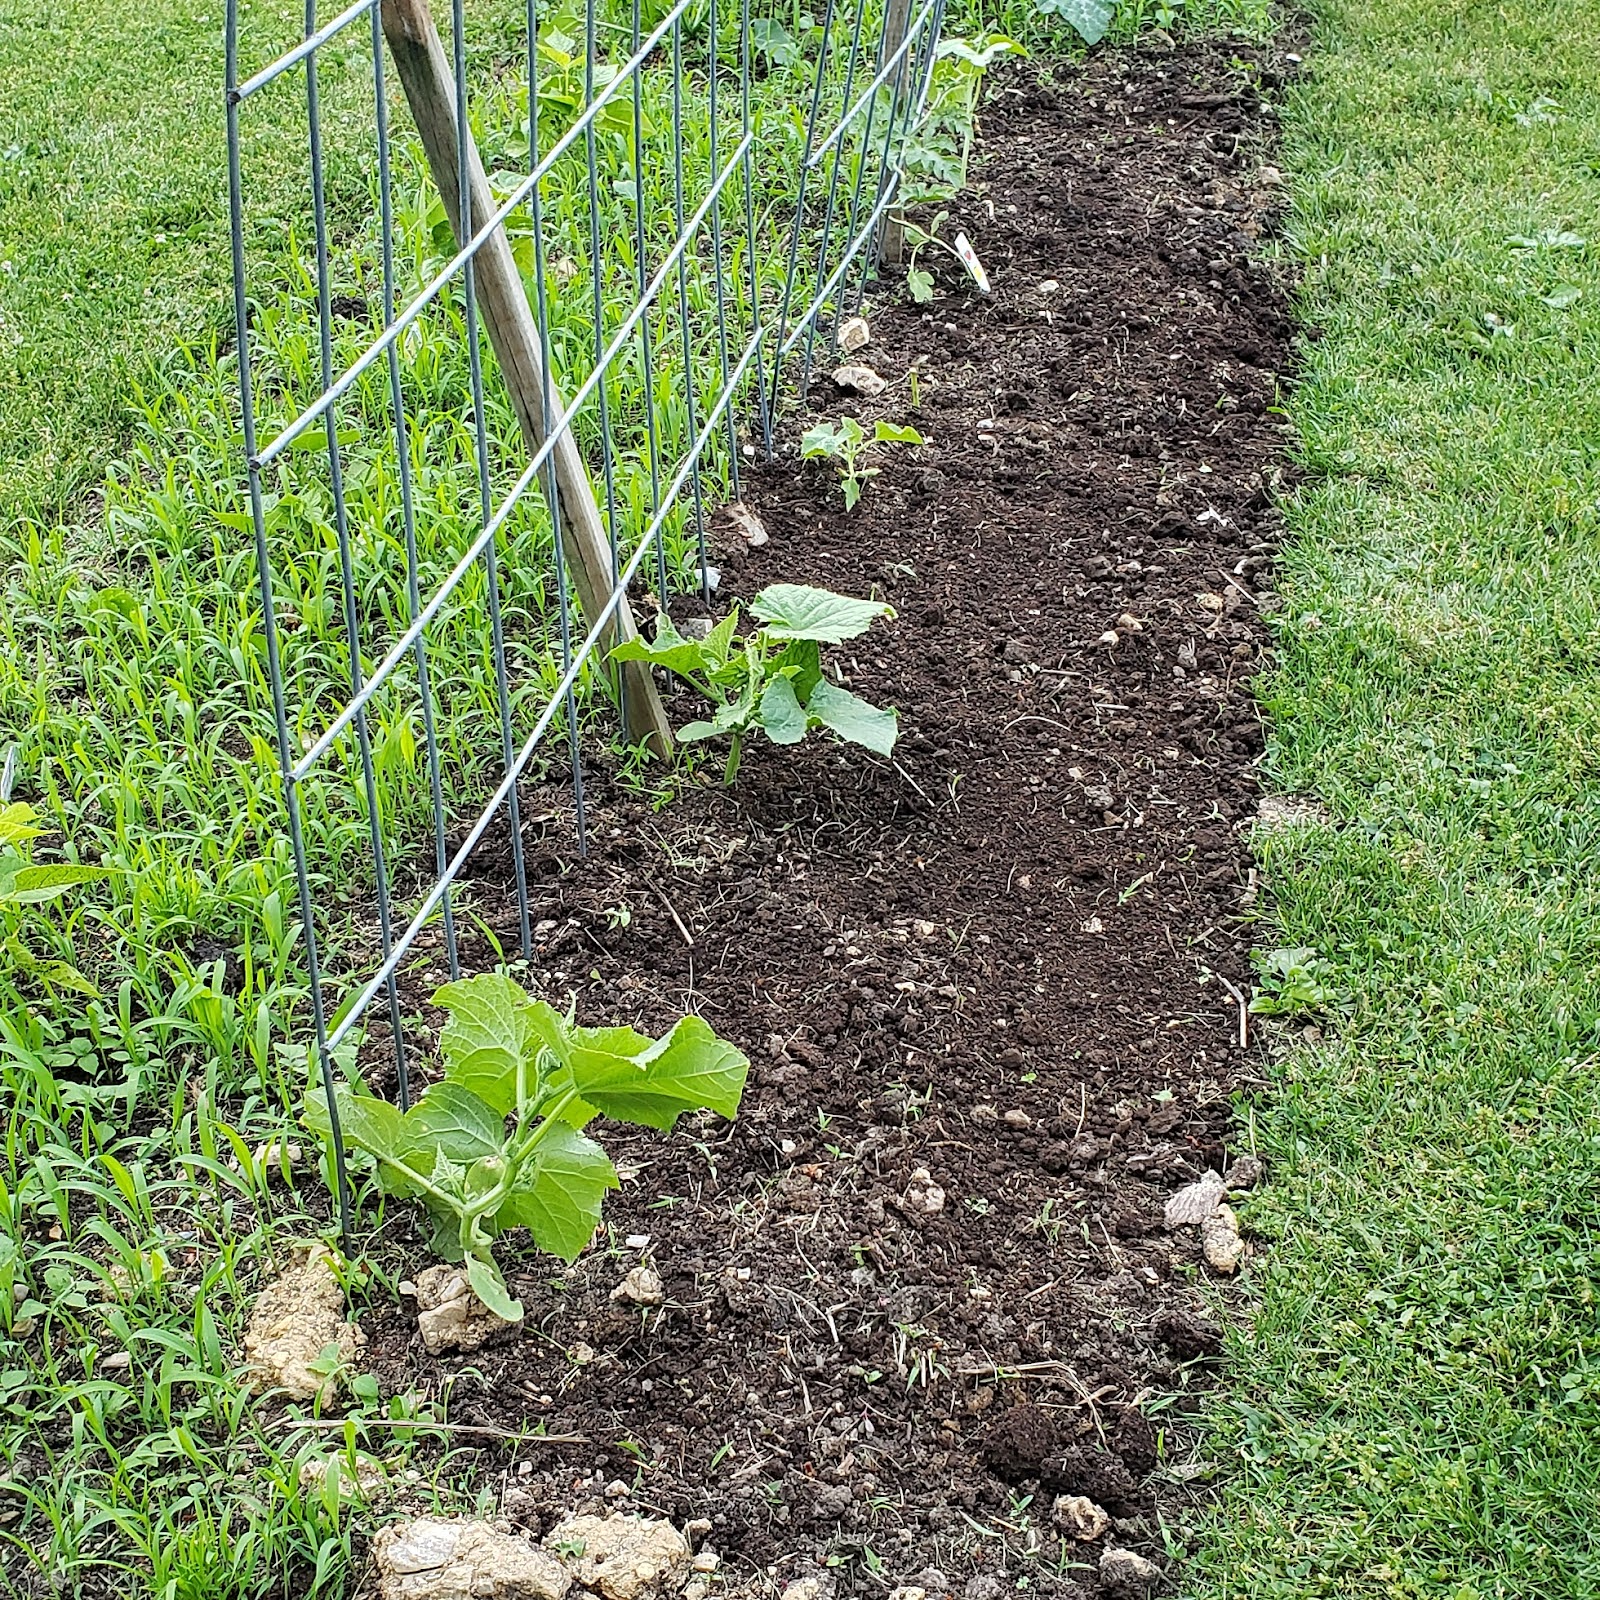
You can then plant your climbing plants: cucumbers, watermelon, honeydew, pole beans, etc. I recommend 2-3 plants per side, depending on what you are growing. I overbuy, too, so most of the time I am putting 3 plants per side, for a total of 6 plants. Do what you feel comfortable with. (If you are planting smaller items like beans, you will be able to accommodate more)
Once planted, don’t forget to mulch around your items. Who wants to weed? I don’t! Our preferred mulch is grass clippings for two reasons: 1. It is free and 2. It adds nitrogen back into the soil. If you plan on using grass clippings, just make sure it hasn’t been treated with any pesticides. The added bonus to mulching (besides minimizing weeding), is it conserves water by slowing down evaporation. That means less watering, too!
Pro tip: Allow 6-10 inches of un-mulched space around each plant!
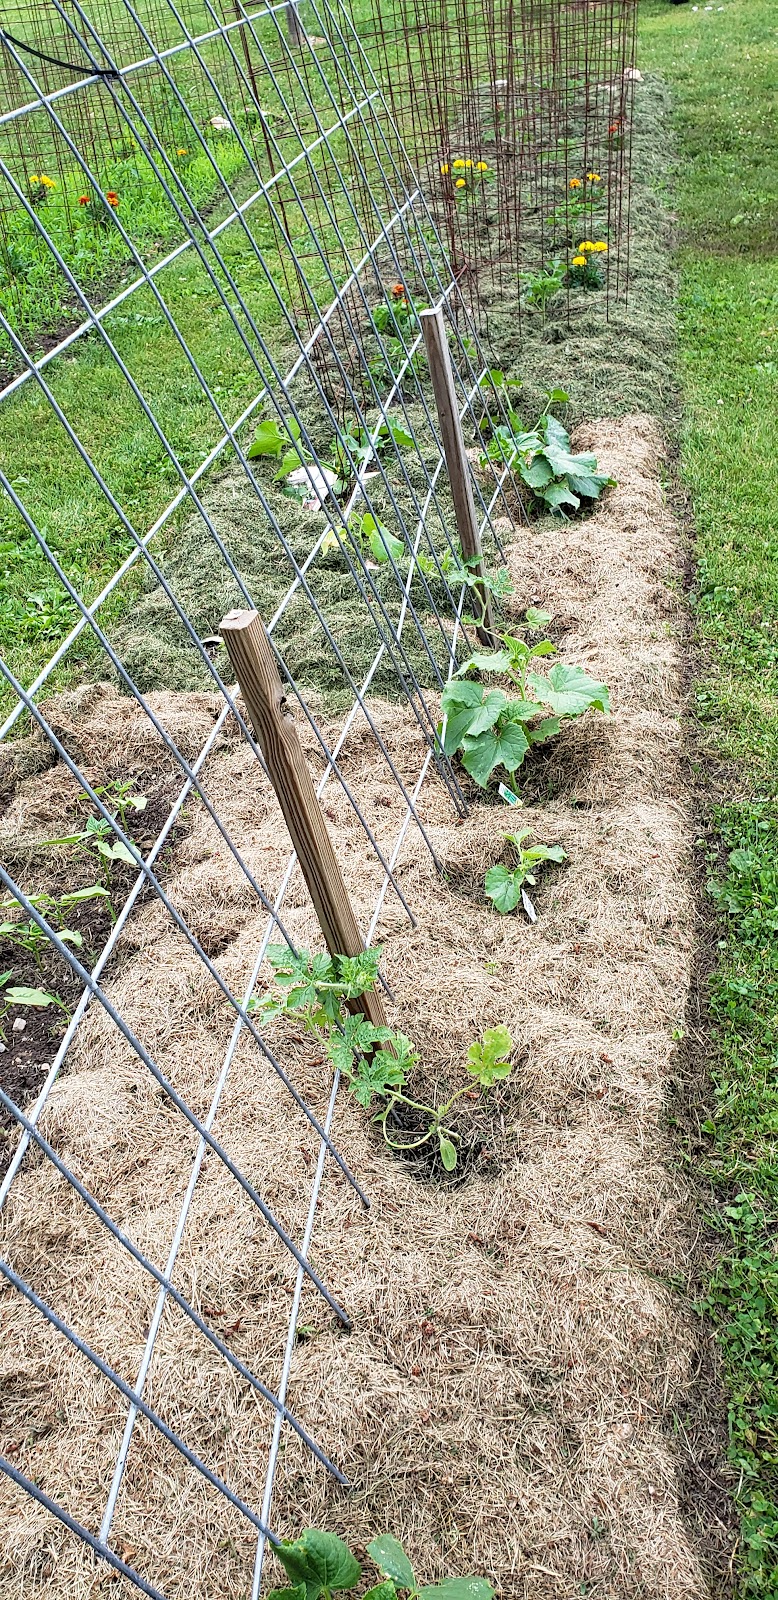
Here is our finished work –you can see we have two cattle panels side by side, and have mulched around the base of the trellis, avoiding direct contact with the plants.
We also were able to plant some bush beans on either side of the trellis to maximize our space. You can see that as the mulch ages, it turns brown –a sign of early decomposition –just what you want to add nitrogen back into your garden.
Once installed and mulched, your trellis area needs very little tending to. If you like your plants to stay somewhat organized, train them on the trellis, placing tendrils in the area where you want them to attach. If you have found vines attaching to an area where you don’t want them to be, don’t be afraid to move them by either unwinding the tendril or plucking it off and relocating it.
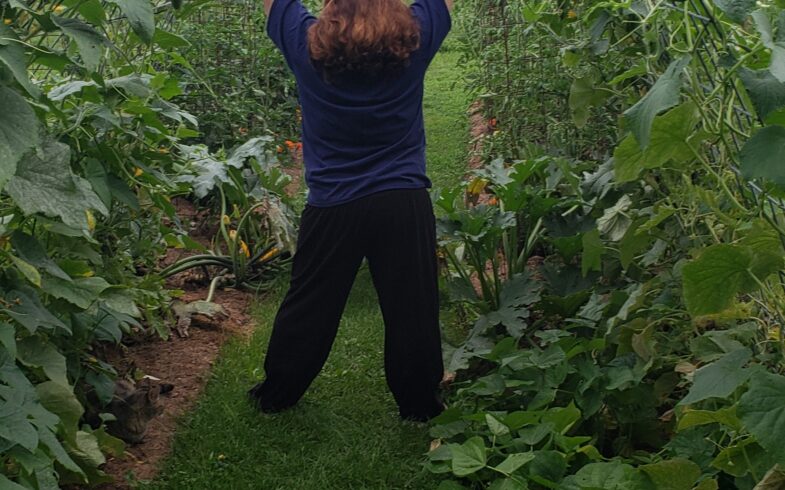
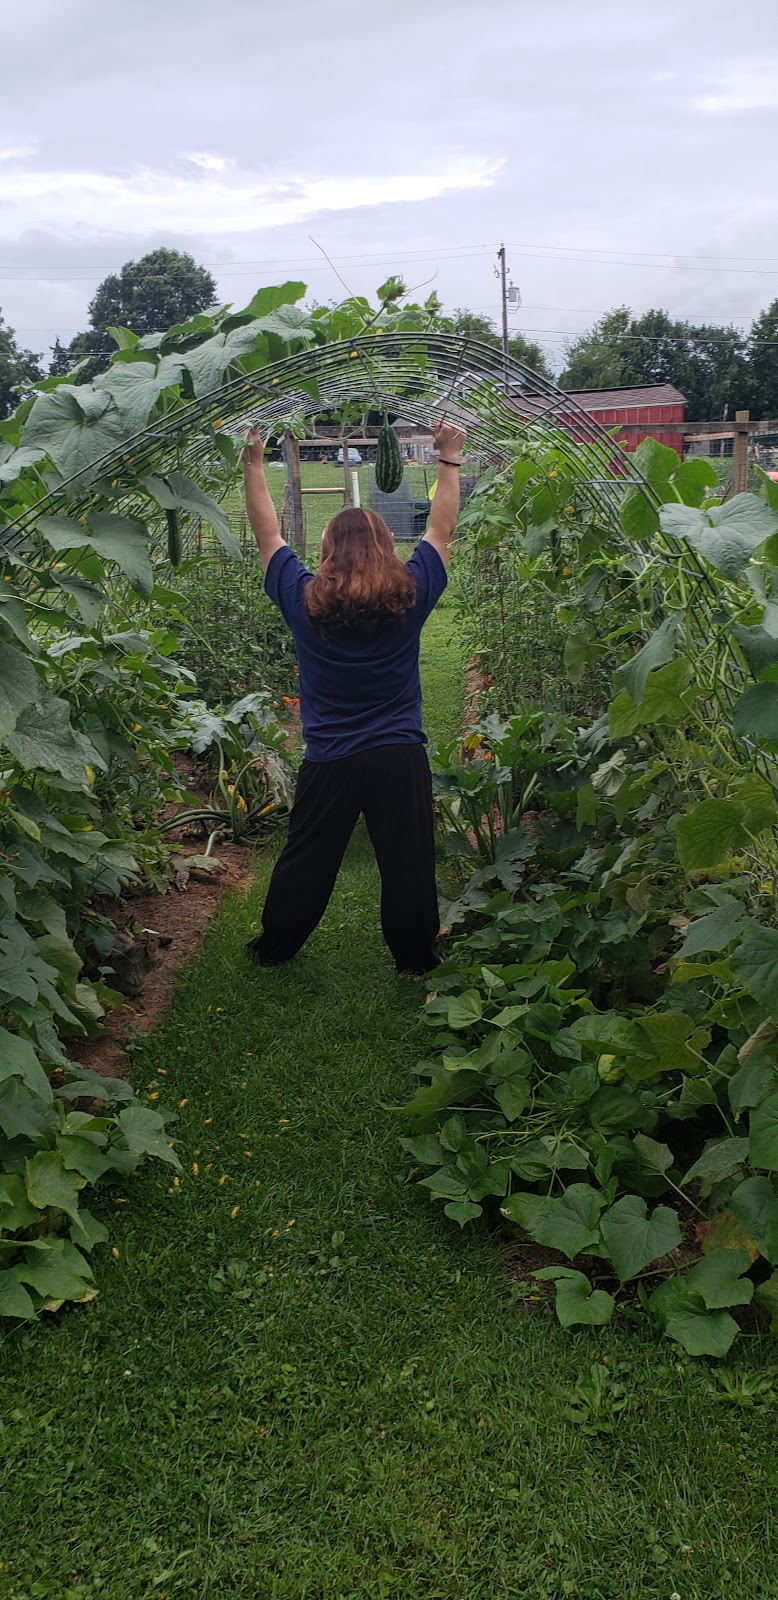
This picture was taken well into the growing season where we live (July 20, Zone 6A) and you can see that most of the vines have grown up and over the trellis. Just above my head is a sangria watermelon and to my left and right are some large slicing cucumbers just hanging out!
Bush beans have filled in the space on either side of the trellis. We prefer large walking spaces in our garden to maneuver wheelbarrows and mowers, but you could also fill in with lettuce or other shade-loving produce.
No comments.