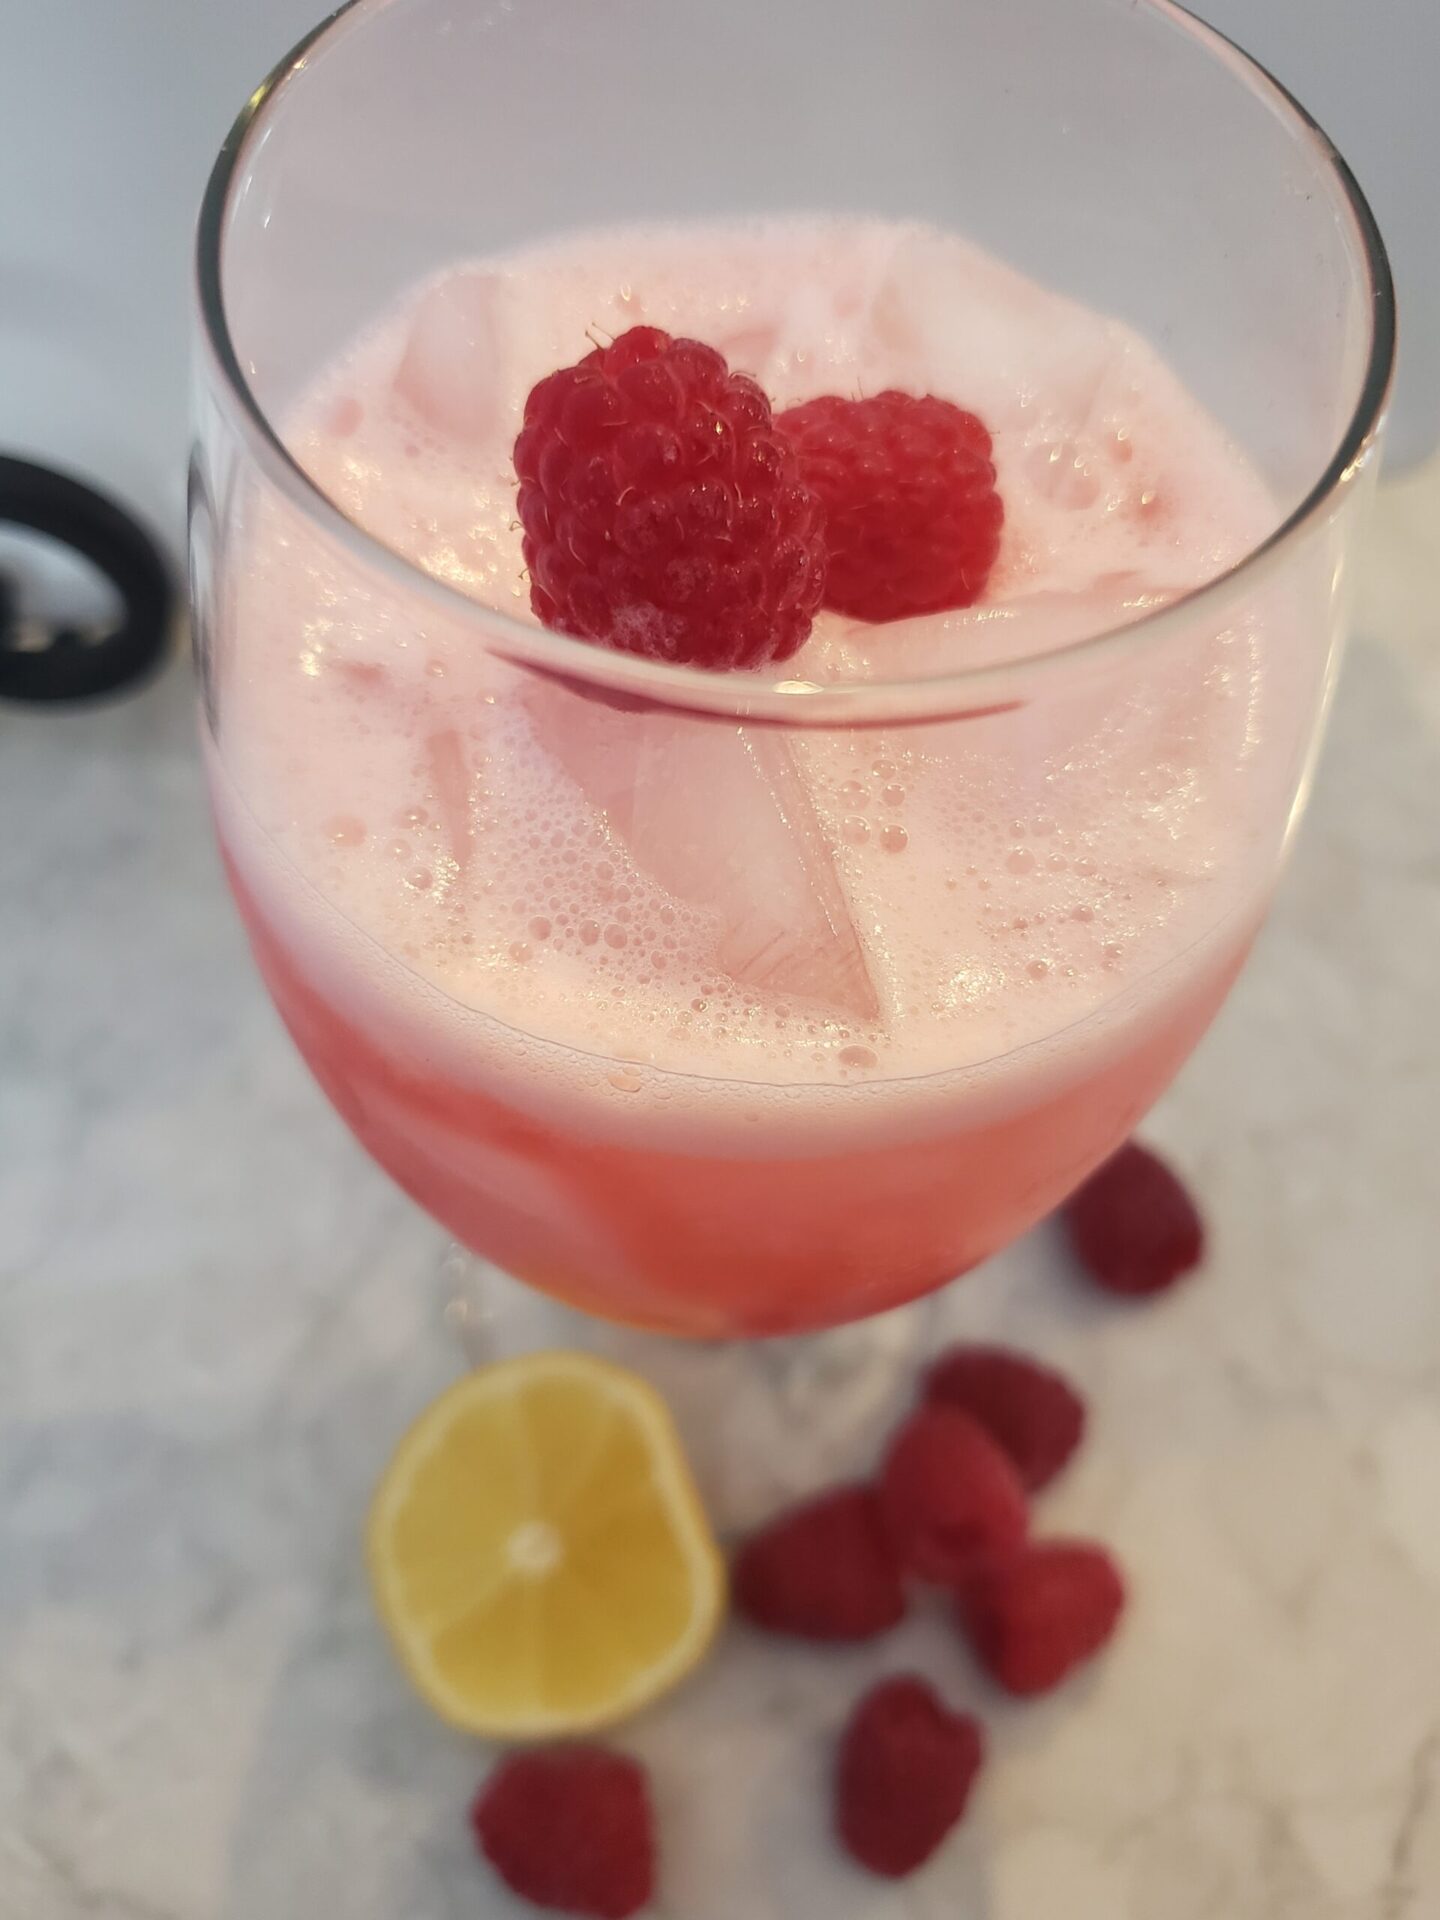
Raspberry Lemon Refresher: A 4 Ingredient Recipe

Jump to Recipe Print Recipe

One of the benefits to living in Pennsylvania is the ability to find or grow raspberries. If you don’t have a spot in your yard for a few raspberry bushes (which I totally recommend!), pick nearly any back road, take a short drive, and your bound to find wild raspberries contently growing within eyesight of the road. Raspberries are plentiful around July, with some varieties producing well into fall.

Freshly picked red raspberries destined for a delicious drink.

We opted to add ten everbearing raspberry bushes when we first moved to our homestead. The plot has multiplied into a jungle of thorny bushes that yield gallons and gallons of raspberries every year.

This means that we have to be creative with our uses. I mean, one can only make and use so much jam, right?!

In addition to fruit leather, baked goods, and downright gifting the berries away, a recent beverage experiment led to a wonderfully refreshing drink. It is not a juice or an ade, but rather a lightly sweet and tart flavored water. You know, the kind that can quench your thirst even on the hottest of summer days.

Did I mention the recipe requires only 4 ingredients?

  • water
  • lemon juice
  • raspberries
  • sugar

(Does water even count as an ingredient?!)

A perfect pairing of raspberries and lemon
The Pampered Chef Easy Read Colander make measuring and cleaning berries easy and efficient.

To make the recipe, you want to make sure to prep your berries. I find using the Pampered Chef Easy Read Colander saves time and dishes because I can measure out my berries and wash them in the same container.

After the berries are washed, you want to remove the seeds. I’ve found that the easiest way to do this is to put them into a fine mesh sieve and use the back of the spoon to crush them. You could also mash up your berries and filter them through cheesecloth. Or, if you’re feeling a little dangerous, leave the seeds in…they’ll sink to the bottom. Careful pouring should avoid any unwanted seeds in someone’s glass.

Once the berries are prepped, add them to a pitcher along with the other ingredients and give it a stir. Might I also suggest heating up a cup or so of your water so you can easily dissolve the sugar in the recipe. It’s not required, but will prevent sugar from sinking to the bottom. It’s that easy. Promise.

Raspberry Lemon Refresher

This lightly tart and sweet beverage is the perfect drink for a hot day.
Prep Time5 minutes
Course: Drinks
Cuisine: American
Keyword: beverage, drink
Servings: 8

Ingredients

  • 1/2 cup granulated sugar
  • 5 cups water filtered is best
  • 1/4 cup freshly squeezed lemon juice
  • 1 cup raspberries

Instructions

  • In a small saucepan, add sugar to 1 cup of water. Heat until dissolved.
  • While water is warming, place your raspberries into a fine mesh sieve. Using a spoon or rubber spatula, crush berries and push through the sieve. ( I do this right into my pitcher to save on dishes!)
  • Combine sugar water, remaining water, lemon juice, and raspberry puree into a 1/2 gallon pitcher. Chill and serve.

Finally, if you’d like to start growing raspberries, or other fruits and vegetables for yourself and your family but don’t know where to begin, check out The 7 Essential Items You Need to Start Gardening.

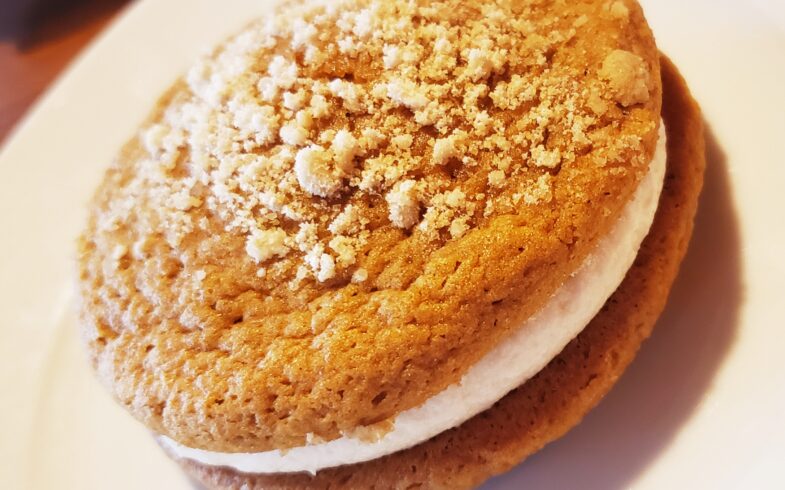
Shoo Fly Whoopie Pies

Jump to Recipe

Have you ever had a whoopie pie? If you have, you know exactly what I’m talking about. If not, let me explain. Imagine a hybrid cookie-cake sandwiching a sweet and fluffy icing. Are you sold, yet? If you haven’t had one, you really must –I think it’s a life requirement. There are likely hundreds of flavors to choose from, although the original whoopie is a chocolate “pie” with a light, vanilla filling.

These portable and handheld desserts are said to be created by the Amish, which makes sense, as we live just minutes away from their communities. These desserts can be found at nearly every roadside stand you encounter, plus local grocery stores have even gotten on the bandwagon and have started selling these regional treats. And rightfully so; they are delicious!

One of the flavors we encountered in our travels was a Shoo Fly Whoopie Pie. We’ll save the Shoo Fly Pie discussion for another post, but imagine a soft and sweet molasses cookie sandwiching a super-sweet cream with just a hint of vanilla (and molasses).

Google wasn’t my friend when I tried to locate a recipe to make for my daughter’s birthday. She happens to not like cake, but loves the flavors of a good wet-bottom Shoo Fly Pie. Some recipes called for ginger (ewww!) and others called for “goo” in the center. Uh, nope. I wanted a simple and flavorful whoopie pie, so, using what I had on hand during quarantine, I was forced to come up with a concoction on my own. Surprisingly, the balance of unsulfured molasses (which can be strong) with dark corn syrup created a perfectly balanced pie flavor. (It was also good because I didn’t have enough of either to make up the liquid portion of the recipe!)

Lets just say, the pies were the hit of the day. If you’ve been in pursuit of an excellent shoo fly whoopie pie recipe, please try this one out. It won’t disappoint.

Print Recipe
5 from 1 vote

Shoo Fly Whoopie Pie

A handheld version of shoo fly pie., but in a whoopie pie style!
Prep Time1 hour
Cook Time12 minutes
Course: Dessert
Keyword: dessert, German, Lancaster County, molasses, PA dutch, Pennsylvania Dutch, Pie, Shoo Fly, Whoopie Pie
Servings: 12 pies

Ingredients

  • 1 cup granulated sugar
  • 1 cup shortening
  • 1/3 cup unsulfured molasses
  • 2/3 cup dark corn syrup
  • 2 large eggs
  • 4 cups all purpose flour
  • 1 tsp baking soda
  • 1 tsp salt
  • 1/2 tsp ground cinnamon
  • 1 tsp vanilla extract

For the filling

  • 3/4 cup shortening
  • 2-3 cups powdered sugar
  • 1 tsp vanilla extract
  • 1 T milk
  • 1 T Turkey Syrup
  • 1/8 tsp salt

For the crumb topping

  • 1/4 cup flour
  • 2 T brown sugar
  • 1 T shortening

Instructions

  • For the Pies: Beat the shortening and sugar until it is light and fluffy. Then add the eggs, vanilla, molasses, and corn syrup and beat for another 1-2 minutes, or until your mixture is smooth. Then, add all of your dry ingredients to the bowl and beat on low speed until blended. Your dough will be thick –almost like a cookie dough –that's the way you want it! Cover your dough and place it in the refrigerator for 30-60 minutes. You can do this while you make the filling and crumbs for the recipe.
  • For the filling: Cream shortening, vanilla, salt, milk, and turkey syrup together. Then add 2 cups of the powdered sugar and beat until light and fluffy. Add up to 1 more cup of powdered sugar to achieve the consistency you'd like.
    For the crumb topping: Blend flour, brown sugar, and shortening together using a fork or pastry blender until it has an even consistency.
  • Baking and assembling: Preheat oven to 350 degrees F. Using a large scoop, make 24 pies (you might have a tablespoon or two of extra dough –that's okay!).
  • Roll each scoop of molasses-y goodness into a ball, then dip half of them into the crumb mixture (these will be the tops). Place on a lined cookie sheet. You don't want to overcrowd the sheet or else your pies might run into each other –I recommend no more than 6-8 pies on a sheet at at time.
  • Bake for 10-12 minutes and allow to cool.
  • Flip over the 12 pie halves that do not have crumbs on them. These are the bases of your pies.
  • Using the same size scoop as what you used for your pies, load each one of the them with filling. (I find a 2 to 1 ratio of pie to filling best.)
  • You can adjust this ratio as you'd like, but by using the same size scoop, you achieve this ratio –plus, you don't have people fighting over the pies with the most filling!
  • Now take the 12 pie halves that have crumbs and place one of each mound of filling. Give it a gentle press so that all of the fluffy goodness oozes to the edges.  Wrap in plastic wrap and refrigerate –if they last that long!

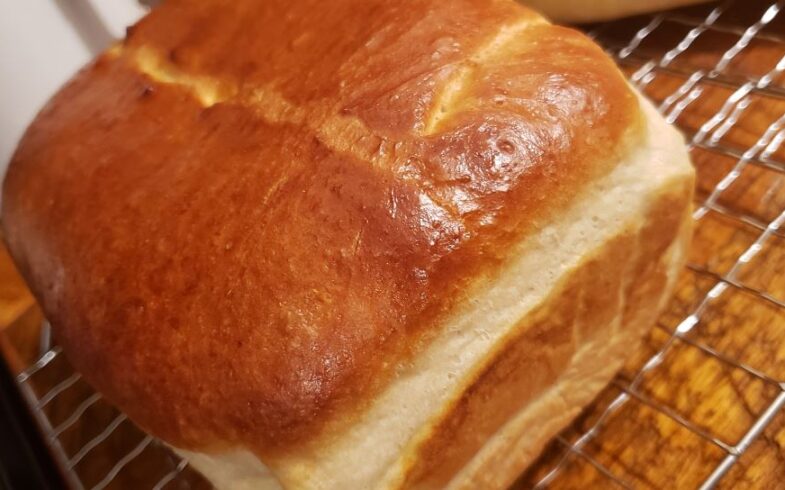
Are You Searching for the Perfect White Bread?

Jump to Recipe

If you’ve been searching for the perfect white bread recipe, I’ve found it! I’ve tweaked it. I’ve mastered it.

Let’s just say, I’ve been baking. A. Lot. And, one of the items that makes it onto my almost daily rotation of kitchen tasks is baking bread. It took me years, literally, to find a recipe that worked for our homestead’s needs. This one is it. It’s the winner. I can use this recipe to make sandwich bread, hamburger rolls, hot dog rolls and even Italian bread. The bonus…I don’t have to buy a special flour to make it; good ol’ all purpose flour is all that is “kneaded.”

If I were to describe this yeasty treat, I would say it is light and slightly moist, with just a hint of buttery flavor. It holds up well to toasting and to egg dipping for breakfast treats and can be used for sandwiches and burgers alike.

Once you master the basic recipe, the sky’s the limit on options. Top it with sesame seeds, poppy seeds, garlic butter, herbs, sea salt, or even cinnamon sugar. If you free-form it on a large pan and proof it a little less, it makes a delicious Italian dinner bread. Shape it into buns and allow it to proof a little longer for light and fluffy hamburger rolls or hot dog buns.

Some of our favorite toppings include a sprinkling of sesame seeds to our hamburger buns, a dusting of garlic powder and herbs on our free formed Italian loaf , and an addition of sea salt on the top of a plain loaf of bread.

Whatever you choose, it’ll take some practice to perfect the density you like best for any given bread. Over the years, I’ve learned that I prefer to hand knead this dough over using a stand mixer –for one it’s therapeutic. I know that my hands have kneaded and formed the loaves that were baked so lovingly for my family. Second, I find I get better results. And, ultimately, it all about the results, right?!

Print Recipe
Print Recipe
5 from 1 vote

The Perfect White Bread

This versatile recipe can be used to create nearly any bread product from sliced bread to hamburger and hot dog rolls.
Prep Time15 minutes
Cook Time25 minutes
Proof Time1 hour
Total Time1 hour 40 minutes
Course: Appetizer, Breakfast, Side Dish, Snack
Cuisine: American
Keyword: all-purpose, bread, hamburger rolls, hotdog rolls, rolls, sandwich bread, simple, versatile
Servings: 2 loaves (10 slices each)
Calories: 140kcal
Cost: $2.00

Ingredients

  • 1/2 cup whole milk (or plant based milk)
  • 3 Tbsp granulated sugar
  • 2 tsp kosher salt
  • 3 Tbsp butter (or plant based butter)
  • 3 tsp active dry yeast
  • 1 1/2 cups warm water (110-115 degrees F)
  • 5-6 cups all purpose flour
  • 1 Tbsp vegetable oil (for coating the proofing bowl)

Instructions

  • In a microwave safe bowl or measuring cup combine milk, sugar, salt and butter.  Microwave on high for 30 second intervals until butter is melted and the sugar dissolves. Be sure not to heat the liquid ingredients too much or you'll risk killing the yeast. A simple test is to dip a clean finger into the liquid –it should feel slightly warm, just above body temperature.
  • Sprinkle the yeast across the warmed milk mix. Wait until the surface of your liquid gets foamy.
  • In a large bowl, add 5 cups of bread flour. Make a well in the center, then add warm water and the warmed milk mix. 
  • Using a rubber spatula, combine the wet and dry ingredients. Once the dough forms a cohesive blob, pour it onto a floured surface and begin to knead the dough.
  • If the dough is too sticky (sticking to your hands) slowly add 1/4 cup of flour at a time. The dough forms a soft, slightly sticky consistency.
    *You can use a stand mixer fitted with a dough hook to complete the kneading, too. Start on level one, until just starting to combine then gradually increase to level four until completely mixed. 
  •  Using a tablespoon of vegetable oil, coat the sides of a large bowl and place the dough in it. Rotate the the dough ball to ensure that the oil coats all sides.  Cover with a towel and allow to rise to double in size, about 30 mins.
  • Punch down, turn out dough onto a board and cut in half.  Form the dough in to your pan shape and place into oiled or parchment paper lined bread pans. *If you are making rolls, shape them on a sheet pan.
  • Use 1 beaten egg white to brush the top of each loaf.  Using a sharp knife, shallow slice down the middle long ways. Cover and allow to rise until just over the top of the lip of the pan (about an hour)
  • Bake at 375 F for 20 minutes, then turn up the oven to 400 and bake for another 5 minutes, or until the top is golden brown.
  • Immediately remove from pans and allow to cool on a wire rack.
  • Once cool, cut and serve, or place in an airtight container for up to 3 days.