How to Grow Garlic in 3 Easy Steps

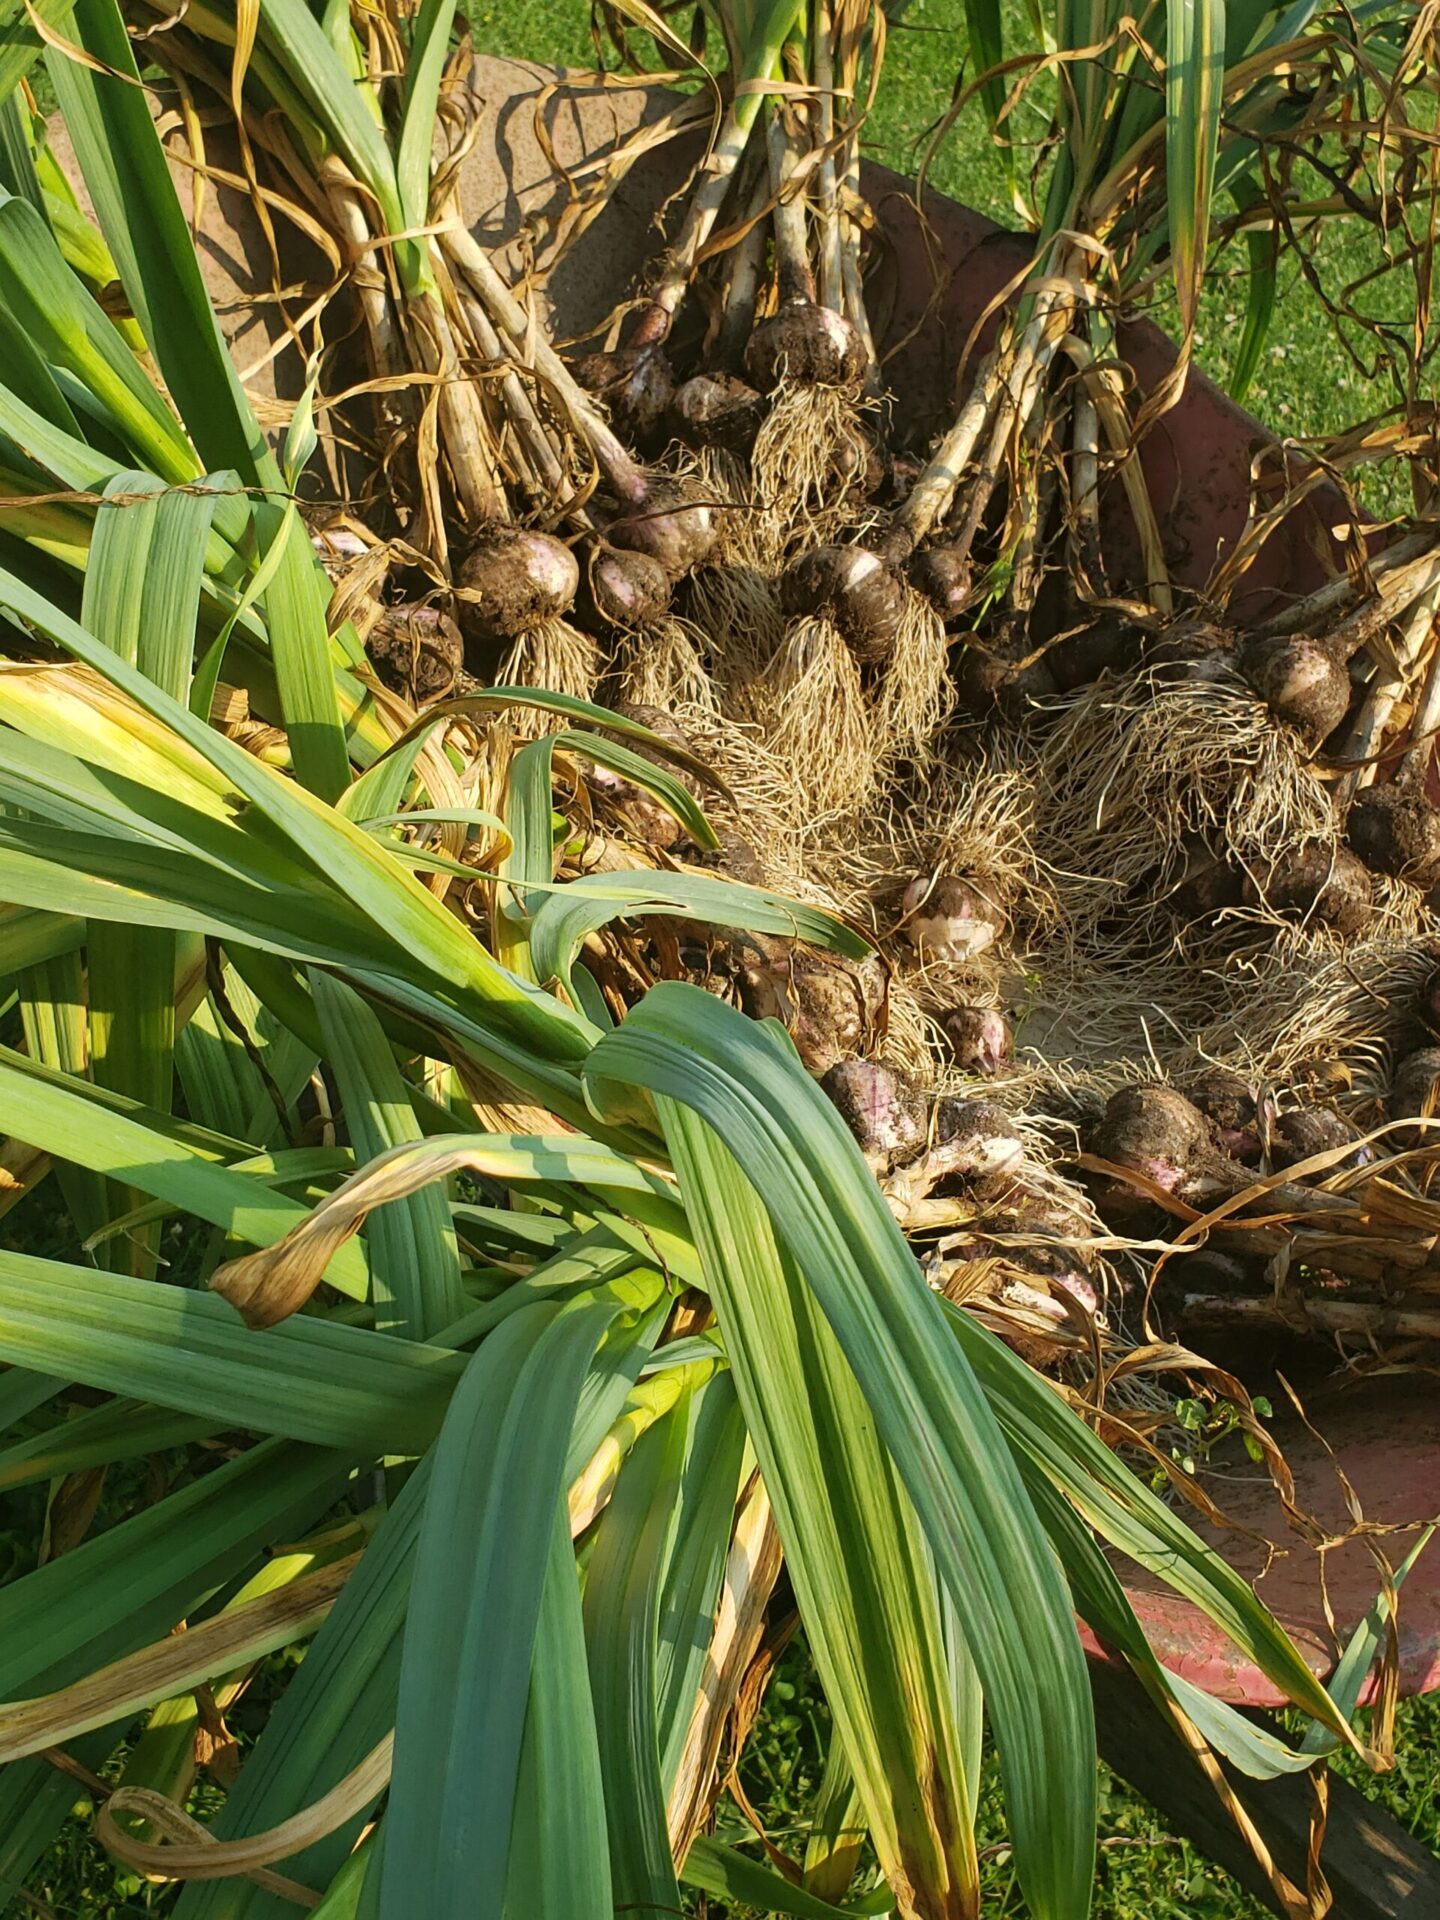
Garlic. A cousin to the onion. Culinary deliciousness. Easy to grow.

Have you wanted to grow garlic, but haven’t the foggiest on how to start? Here is a step-by-step guide on how to plant it. But, before we start, let’s review the items you will need to grow garlic:

  • garlic bulbs (although some people say you could use store bought garlic, we recommend buying bulbs from a nursery center or gardener since it will be compatible with your growing area)
  • an area to plant that receives 6-8 hours of full sun (this could be a small plot in the garden or in some medium to large pots)
  • gloves (optional, but who wants dirty hands if it can be avoided?!)

OK, let’s get started with our step-by-step guide…

STEP 1-PLANT

First, determine when to plant garlic and plant it. I know this sounds vague, but depending on where you live and the type of garlic you are planting, the time frame in which to plant will vary. A general rule of thumb is to plant garlic on the day of the year with the shortest amount of daylight and harvest it on the day with the longest amount of daylight. Gardeners in my neck of the woods (Zone 6b) often use this guide: Plant on Columbus Day. Harvest on the 4th of July. Ideally, the goal is to get garlic in the ground before the ground freezes. The garlic will begin to develop roots before winter; growth will continue once the ground thaws in the spring.

The spring appearance of garlic!

Once you determine your planting date, break apart the bulbs into cloves several days before you are ready to plant. You can leave the paper on the cloves. On planting day, place cloves root side down, providing enough space for them to grow into bulbs. I usually space my cloves about 4 inches apart in rows that are about a foot apart. If you live in a colder region you may want to apply a layer of mulch; otherwise, forget about them until spring.

STEP 2-MAINTAIN

Pull a bulb to check on progress

Garlic is fairly low maintenance. As with most fruit and veggie plants, keep the area weeded. To help combat weeds and save on watering, apply a layer of mulch, like straw or grass clippings around the plants. There are methods to fertilizing garlic that can help to develop larger bulbs, but as long as you are using a rich soil and aren’t entering any garlic growing competitions, you really don’t need to fertilize.

Lastly, monitor for disease. As mentioned, garlic does not require much attention at all.

As a matter of fact, garlic is planted by some to deter pests from the garden; however, can be susceptible to thrips (small insects) and rot (a fungus) that can impact your garlic’s growth.

STEP 3: HARVEST

If you’re in an area where growing hardneck garlic is the only option, you will actually have two harvests: scapes and bulbs. Softneck variety growers, hang tight…

OK…hardneck growers, several weeks before bulb harvest, you will notice thick stalks with a tapered bulb growing out of the middle of your plants. The stalk, called a scape, will rob energy from the bulb and form a flower. It should be cut from each plant to allow the energy to go into bulb production. The bonus: scapes have a lovely mild flavor and can be added to lots of dishes where a bit of garlic flavor is wanted.

On harvest day, both softneck and hardneck growers, can carefully harvest their bulbs. In loose soil, grab at the base of the plant and pull up gently. If there is resistance, you may want to use a small shovel to loosen the soil around the bulb. Shake excess dirt off of the bulb and roots. Then, give yourself a pat on the back…you’ve successfully grown garlic. If you want to know what to do next, read our post on How to Cure, Prep and Store Garlic.

Feeling super successful? Try adding these 3 items to your garden planting list!