Raspberry Lemon Refresher: A 4 Ingredient Recipe

Jump to Recipe Print Recipe

One of the benefits to living in Pennsylvania is the ability to find or grow raspberries. If you don’t have a spot in your yard for a few raspberry bushes (which I totally recommend!), pick nearly any back road, take a short drive, and your bound to find wild raspberries contently growing within eyesight of the road. Raspberries are plentiful around July, with some varieties producing well into fall.

Freshly picked red raspberries destined for a delicious drink.

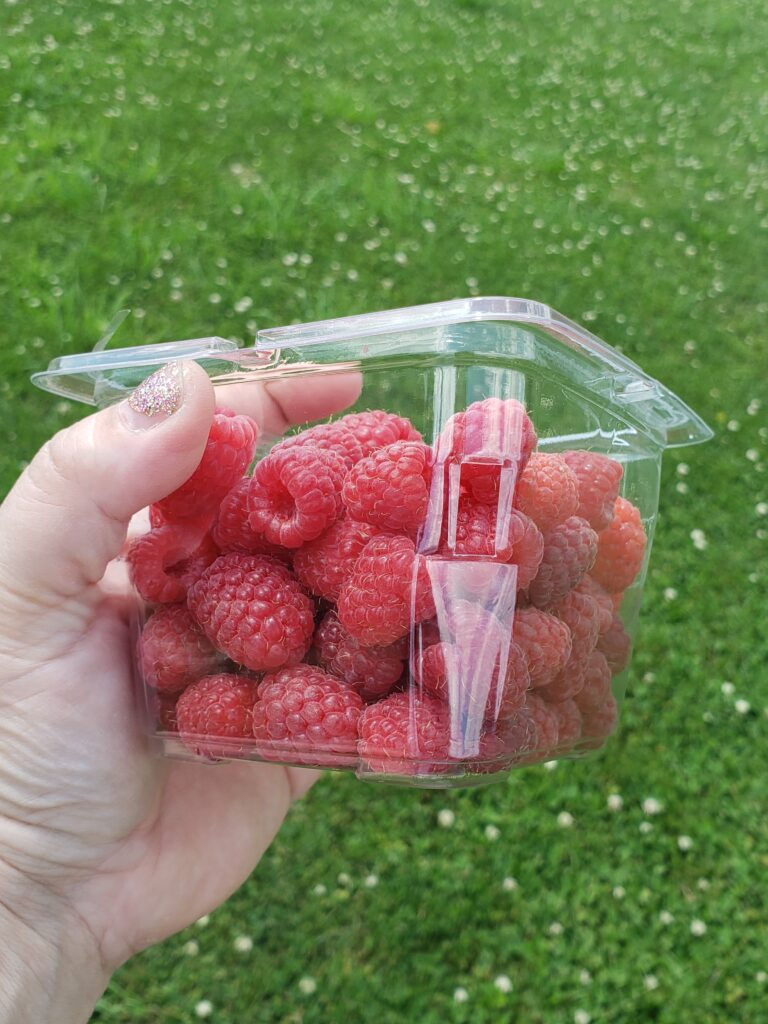
We opted to add ten everbearing raspberry bushes when we first moved to our homestead. The plot has multiplied into a jungle of thorny bushes that yield gallons and gallons of raspberries every year.

This means that we have to be creative with our uses. I mean, one can only make and use so much jam, right?!

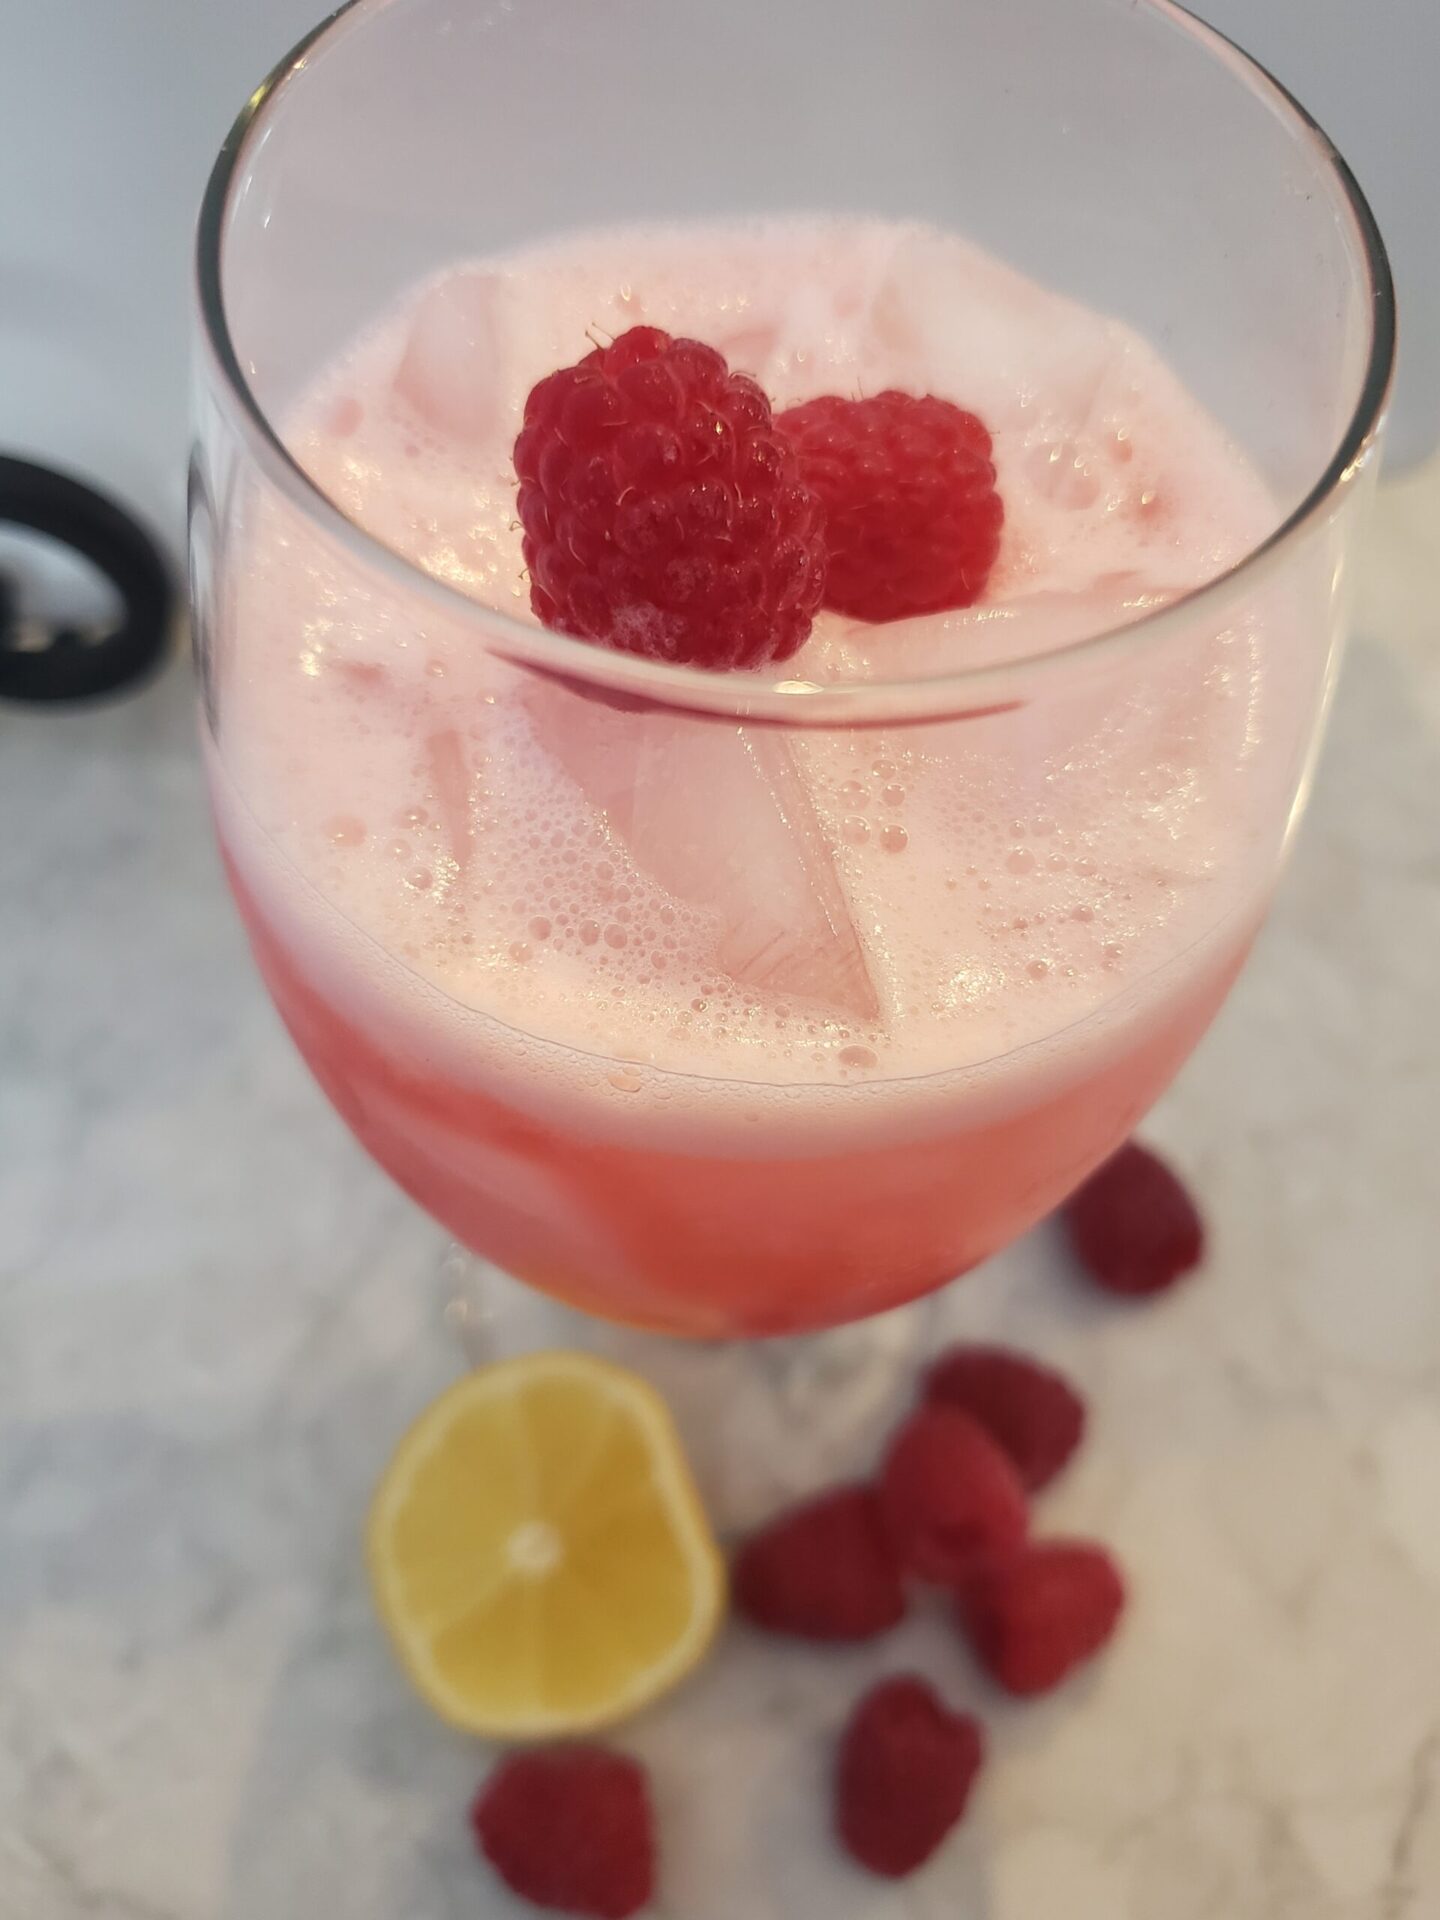
In addition to fruit leather, baked goods, and downright gifting the berries away, a recent beverage experiment led to a wonderfully refreshing drink. It is not a juice or an ade, but rather a lightly sweet and tart flavored water. You know, the kind that can quench your thirst even on the hottest of summer days.

Did I mention the recipe requires only 4 ingredients?
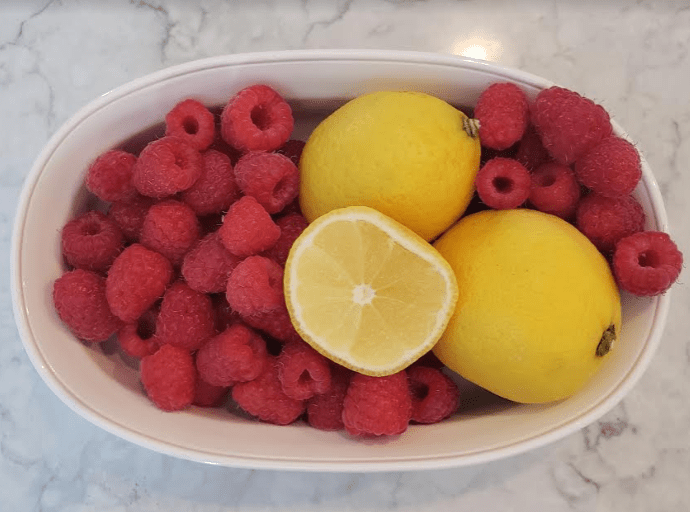
  • water
  • lemon juice
  • raspberries
  • sugar

(Does water even count as an ingredient?!)

A perfect pairing of raspberries and lemon
The Pampered Chef Easy Read Colander make measuring and cleaning berries easy and efficient.

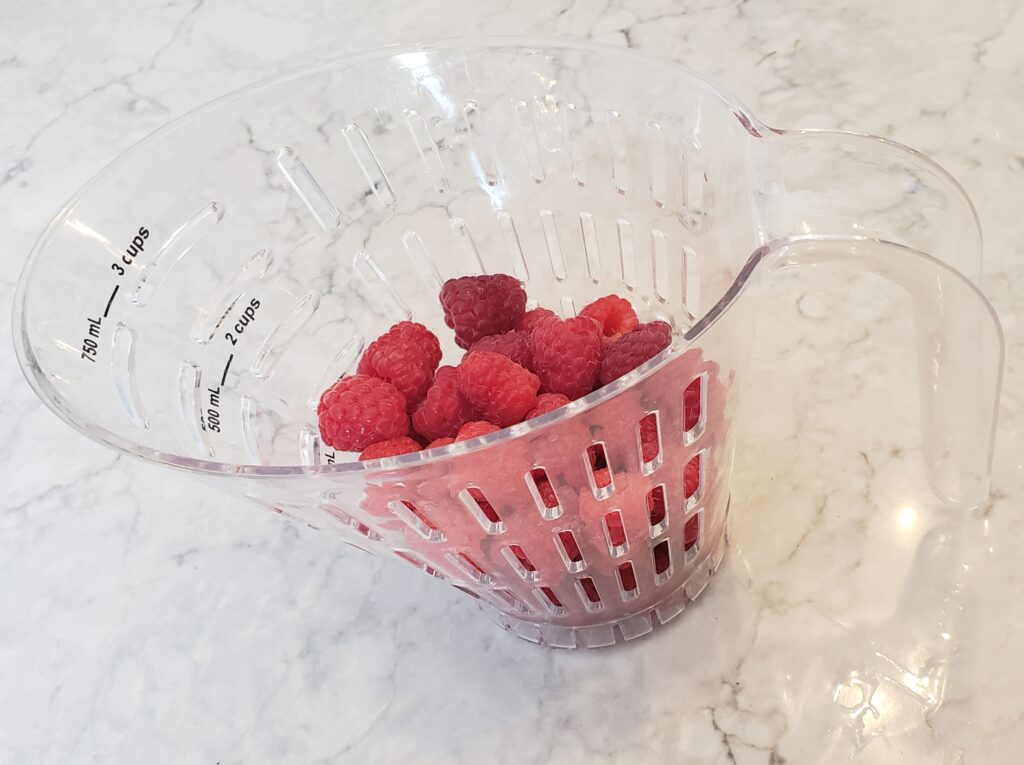
To make the recipe, you want to make sure to prep your berries. I find using the Pampered Chef Easy Read Colander saves time and dishes because I can measure out my berries and wash them in the same container.

After the berries are washed, you want to remove the seeds. I’ve found that the easiest way to do this is to put them into a fine mesh sieve and use the back of the spoon to crush them. You could also mash up your berries and filter them through cheesecloth. Or, if you’re feeling a little dangerous, leave the seeds in…they’ll sink to the bottom. Careful pouring should avoid any unwanted seeds in someone’s glass.

Once the berries are prepped, add them to a pitcher along with the other ingredients and give it a stir. Might I also suggest heating up a cup or so of your water so you can easily dissolve the sugar in the recipe. It’s not required, but will prevent sugar from sinking to the bottom. It’s that easy. Promise.

Raspberry Lemon Refresher

This lightly tart and sweet beverage is the perfect drink for a hot day.
Prep Time5 minutes
Course: Drinks
Cuisine: American
Keyword: beverage, drink
Servings: 8

Ingredients

  • 1/2 cup granulated sugar
  • 5 cups water filtered is best
  • 1/4 cup freshly squeezed lemon juice
  • 1 cup raspberries

Instructions

  • In a small saucepan, add sugar to 1 cup of water. Heat until dissolved.
  • While water is warming, place your raspberries into a fine mesh sieve. Using a spoon or rubber spatula, crush berries and push through the sieve. ( I do this right into my pitcher to save on dishes!)
  • Combine sugar water, remaining water, lemon juice, and raspberry puree into a 1/2 gallon pitcher. Chill and serve.

Finally, if you’d like to start growing raspberries, or other fruits and vegetables for yourself and your family but don’t know where to begin, check out The 7 Essential Items You Need to Start Gardening.

Making Sauerkraut in a Jar -The Quart Jar Method

Quart jars of freshly made sauerkraut

What is sauerkraut?

Sauerkraut is a German word that means “sour cabbage.” Although this German word appears to be the most popular name for this side dish, fermented cabbage is found in countries around the world. Perhaps it is so popular because it tastes so good. Perhaps it is because it has wonderful health benefits. In either case, let’s talk about how to make a small batch of sauerkraut.

What do I need to make a small batch of sauerkraut?

There are very few items required for sauerkraut. For a successful batch, you need:

  • cabbage –fresh is best, ideally picked and processed within 48 hours of harvesting
  • salt –canning or kosher salt is ideal
  • a quart jar –you can adjust this recipe to make multiple jars or a large crock, but we’ll explain why we prefer this size
  • a fermenting lid or cheesecloth –a cover for your jar
  • a weight that fits inside the jar — to prevent cabbage from floating to the surface

How do I make sauerkraut?

While fermenting can seem intimidating, it really is just science…and boy do we love science! You will be using the natural bacteria living on the cabbage to lacto-ferment it; this acid is what gives sauerkraut its distinctive flavor. To make each quart, you will need:

  • two pounds of shredded cabbage
  • one tablespoon of salt.

You can cut cabbage by hand, run it through a food processor, or shred it with a mandolin. However, the more consistent you shred it, the better. Smaller pieces with ferment much more quickly than larger pieces, which means they can lose their texture. Once you have shredded the cabbage, weigh out two pounds in a large vessel –bowl or food-grade bucket and add one tablespoon of salt. Begin massaging the salt into the cabbage; the salt will pull the water out of the leaves. You want to continue this process for several minutes until you have created about a cup or so of brine. Add your cabbage to the quart jar, carefully packing it into the bottom. The two pounds will fit –promise! Then top off the jar with the brine.

Once your ‘kraut is made, you want to make sure it doesn’t float. Since you are using a jar, you will need a smaller weight to keep the cabbage towards the bottom of the jar. You could use a baggie filled with extra brine or even a smaller jar for this purpose. We opted to invest in a Ball brand fermenting kit that included a spring which keeps the cabbage submerged. Any of these options will work just fine –a weight is a weight. We also like to cut a small circle out of one of the outer cabbage leaves to act as an additional “seal”; we place the leaf on top of the shredded cabbage (and below the brine) to help keep the cabbage in place prior to placing our weight.

Once the cabbage is weighted down, close your jar using a fermenting lid or cheesecloth. You don’t want to use a regular canning lid because this process creates gas and the gas needs to be able to escape

What do I do once the sauerkraut is made?

You don’t have to do much. Check on your jars every day or two. If you see bubbles at the surface of your brine, it is an excellent sign that fermentation is happening. If you see any floating pieces of cabbage, they should be removed. Pieces of cabbage not submerged can mold and ruin an entire batch of sauerkraut…we definitely don’t want that! You can also carefully skim off any scum that may have formed on the surface, too.

Allow your sauerkraut to ferment at room temperature for at least three days; however we recommend fermenting for at least two weeks for the best flavor. Once completed, you can replace the cheesecloth or fermentation lid with a regular jar lid and pop them into the fridge so you can enjoy the sour goodness for weeks to come. You can also water bath can sauerkraut if fridge space is limited; however, it will kill the beneficial bacteria residing in the ferment. Check out our printable canning inventory to help you organize your jars!

Why do we prefer the quart jar method?

We prefer the quart jar method for several reasons:

  • smaller batches minimize potential loss
  • it allows you to process smaller batches as your cabbage is ready
  • once fermentation is complete, you don’t have to transfer the sauerkraut to another container.

So, here’s the real deal. We’ve been making sauerkraut for several years. Last year our goal was to make the largest batch to date. Sadly, the large batch went bad and we lost it all. All 20 pounds of it. When using quart jars, if one happens to go south, you’re only losing one jar…not an entire batch. This was the driving factor to change our method. But, as noted, there are also other benefits. Fermenting in quart jars is ideal if you are only growing two or three cabbages earmarked for sauerkraut. It is also perfect for a staggered harvest.

Soap! The New Store Spotlight: Green Pig Farm

Need Soap?

The GoggleWorks Center for the Arts is a five-story factory turned community arts center located in downtown Reading​, Pennsylvania. Not only do they feature artists, host classes, and hold community events, they have their very own store. The New Store offers “Reading’s finest selection of beautifully handcrafted decorative and functional objects; including original artwork, household items and decor, creative children’s books and toys, apparel, jewelry, and more.”

Green Pig Farm is one of a handful of artisans to be featured. Head on over to The New Store‘s recent blog post, featuring yours truly. You can purchase our soap at their store!

You can also buy bars directly from our online store, where we feature exclusive fragrances, too! Some of our soap fragrances include:

  • Garden Mint
  • Garden Lavender and Mint
  • Orange and Rosemary
  • Apple Sage
  • Cherry Almond

You should know that our soap…

  • made is small batches and cut by hand
  • does not use palm oils
  • does not contain added salts
  • uses natural pigments –and no synthetic dyes
  • uses packaging that is eco-friendlty

Green Pig Farm takes pride in their cold process soap. Grab a bar, or several bars, and experience a new kind of clean.

Did My Lettuce Bolt? The What and Why of Bolting

Red romaine lettuce bolting in the heat of summer.

You’ve been enjoying lettuce for weeks when all of a sudden you walk out to your garden and see this tall tree-like plant where your greens had been happily growing. You tear off a leaf of your favorite salad base only to get a mouthful of bitterness.

If you see this happening in your garden, your lettuce has bolted. Bolting is a natural process in the reproductive cycle of plants where the plant flowers and goes to seed so that it is able to plant more of itself. If you think about it, it’s pretty cool. In the moment, though, bitter lettuce is not cool. During this process, usually triggered by:

  • warmer daytime and nighttime temperatures
  • lack of water
  • other plant stressors

many of the properties of the original item are lost –for lettuce, the leaves become a bit tougher and bitter. Unfortunately, there is no reversing the process once it starts. You do have a couple of options, though. If you raise livestock –chickens, pigs, goats, and more– giving them this gourmet treat is free food for them. We feed some of our bolted items like broccoli, radishes and lettuce to our backyard hens and they certainly do not mind the bitterness. You can also allow the plant to complete it’s life cycle…it will continue to bolt, flower, and form seeds. Once completed, you can collect seeds for replanting in the fall or spring. Or, you can simply add the spent plants to your compost pile.

Whatever the case may be, know that bolting is one of the things that all gardeners encounter. If needed you can adjust your planting schedule or location so hot days and nights can be avoided. You can also make sure you’re watering frequently, and most importantly, don’t stress!

If you are pulling your lettuce due to bolting, replace it with our number one garden veggie. Find out what it is here

The #1 Garden Item to Plant

Haricot (navy) beans growing vertically on cattle panel.

BEANS

BEANS

If we had to vote on only one item to grow in the garden, it would be beans. Why?

  • First, beans are loaded with plant-based protein
  • Second, beans can be dried, canned or frozen
  • Third, they can be grown all summer long

Futhermore, beans are also nitrogen fixing plants, which means they can begin to amend your soil. So, do you want to know the basics? Read on…

PLANTING REQUIREMENTS

In our opinion, beans are perfect for the beginner and the advanced gardener. Grab a pack of seeds, plant them in the ground after the danger of frost has passed and give them some water. From there, beans are relatively maintenance free. But, you do need to select the appropriate type of bean…

BUSH VS. POLE BEANS

Bush beans will not need any type of support, unlike their counterpart, the pole bean which needs a trellis or a fence in which to climb. Be sure to read the back of the seed envelope as it will tell you whether your beans will need support. There are hundreds of varieties to choose from. You have the basics: yellow and green. Then the not-so basic haricot, purple, and turtle beans. We have even grown skunk beans! (I bet you can imagine what those beans look like! )Not to worry, though: you have lots of green and yellow bean options. You can find beans at your local nursery (support local business!), a big box store, and even your local dollar store.

HARVESTING

Once pods are developed, beans can be picked, washed and eaten. You will usually start picking 2-3 months after the beans were planted. If you want beans for fresh eating or for preserving, pick the pods when they are slender –larger, bumpy pods usually mean the seeds inside have developed and will make for a less palatable experience. If you are growing a bean for dry storage (or you would like to save seeds for later use) allow the pods to fully develop. These pods can remain on the plant and begin the drying process right in the garden.

PRESERVATION METHODS

Fortunately, beans have several storage methods. If used within a week or two, beans can be stored in the refrigerator. For longer term storage, beans can be frozen in freezer bags or using a vacuum sealer; however, beans must be blanched to preserve color and nutrients. Lastly, beans can also be pickled and preserved using water bath canning, or can be pressure canned for later use.